How to Edit Your Wedding Website Home Page
Learn how to customize your wedding website's home page. Upload your cover photo, set your names, wedding date, and location using the Harusi Hub website editor.

How to Edit Your Wedding Website Home Page
Your wedding website’s Home page is the first thing guests see when they visit. It’s where you introduce yourselves as a couple, share when and where your wedding will be, and set the tone for your entire website. This tutorial will walk you through every setting in the Home page editor so you can create a beautiful, informative landing page for your guests.
What the Home Page Shows to Guests
Before diving into the editor, let’s understand what your guests will see on your Home page:
- Your cover photo – A large banner image at the top of the page
- Your names – Displayed prominently, using either your full names or preferred display names
- Your wedding date – Shown with a countdown timer if the date is in the future
- Your wedding location – The city and country where you’re getting married
- Your events – A list of all enabled wedding events with their dates, times, and venues
- RSVP button – Allows guests to respond to your invitation
The Home page editor gives you control over all of these elements.
Accessing the Home Page Editor
To edit your Home page:
- Log in to your Harusi Hub account
- From your dashboard, look at the left sidebar
- Click on Website to expand the menu
- Click on Home
You’ll now see the Home page editor with all its settings.
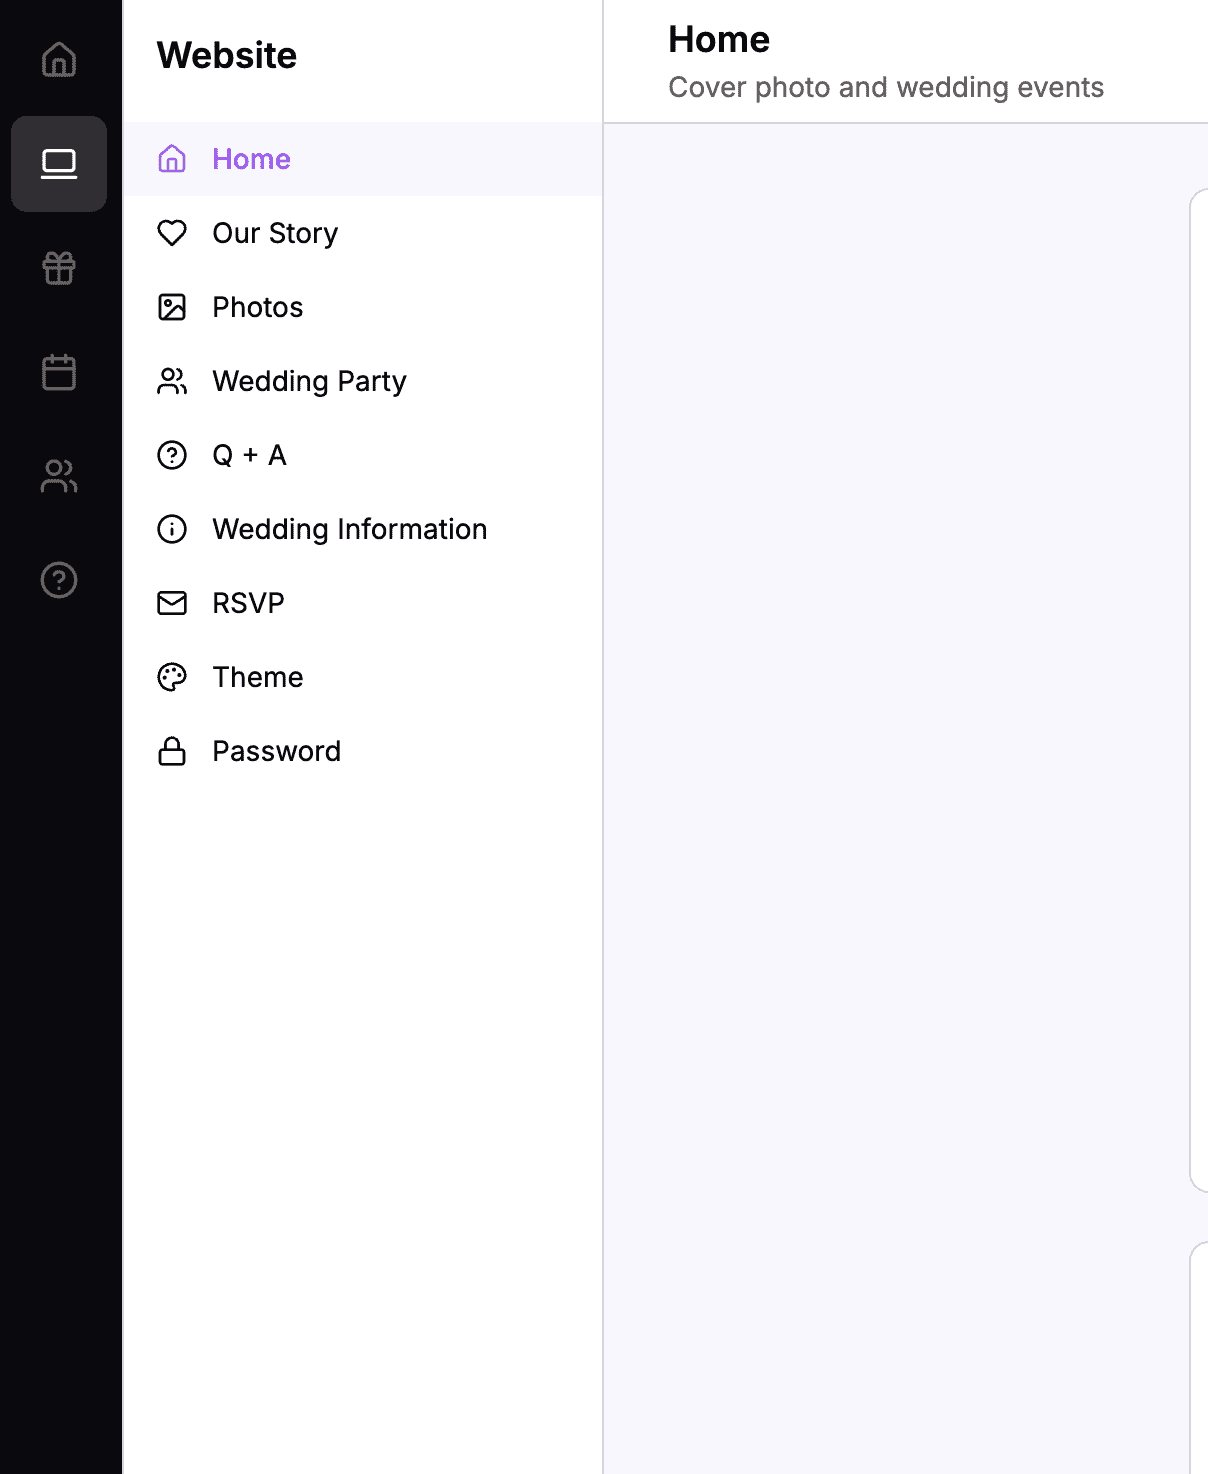 The sidebar navigation with Website > Home highlighted
Uploading Your Cover Photo
The cover photo appears as a large banner at the top of your Home page. This is typically an engagement photo or a beautiful image of you as a couple.
How to Upload a Cover Photo
- In the Home page editor, find the Banner Photo section at the top
- Click the upload area or drag and drop an image file
- Wait for the upload to complete
- Your photo will automatically save and appear on your live website
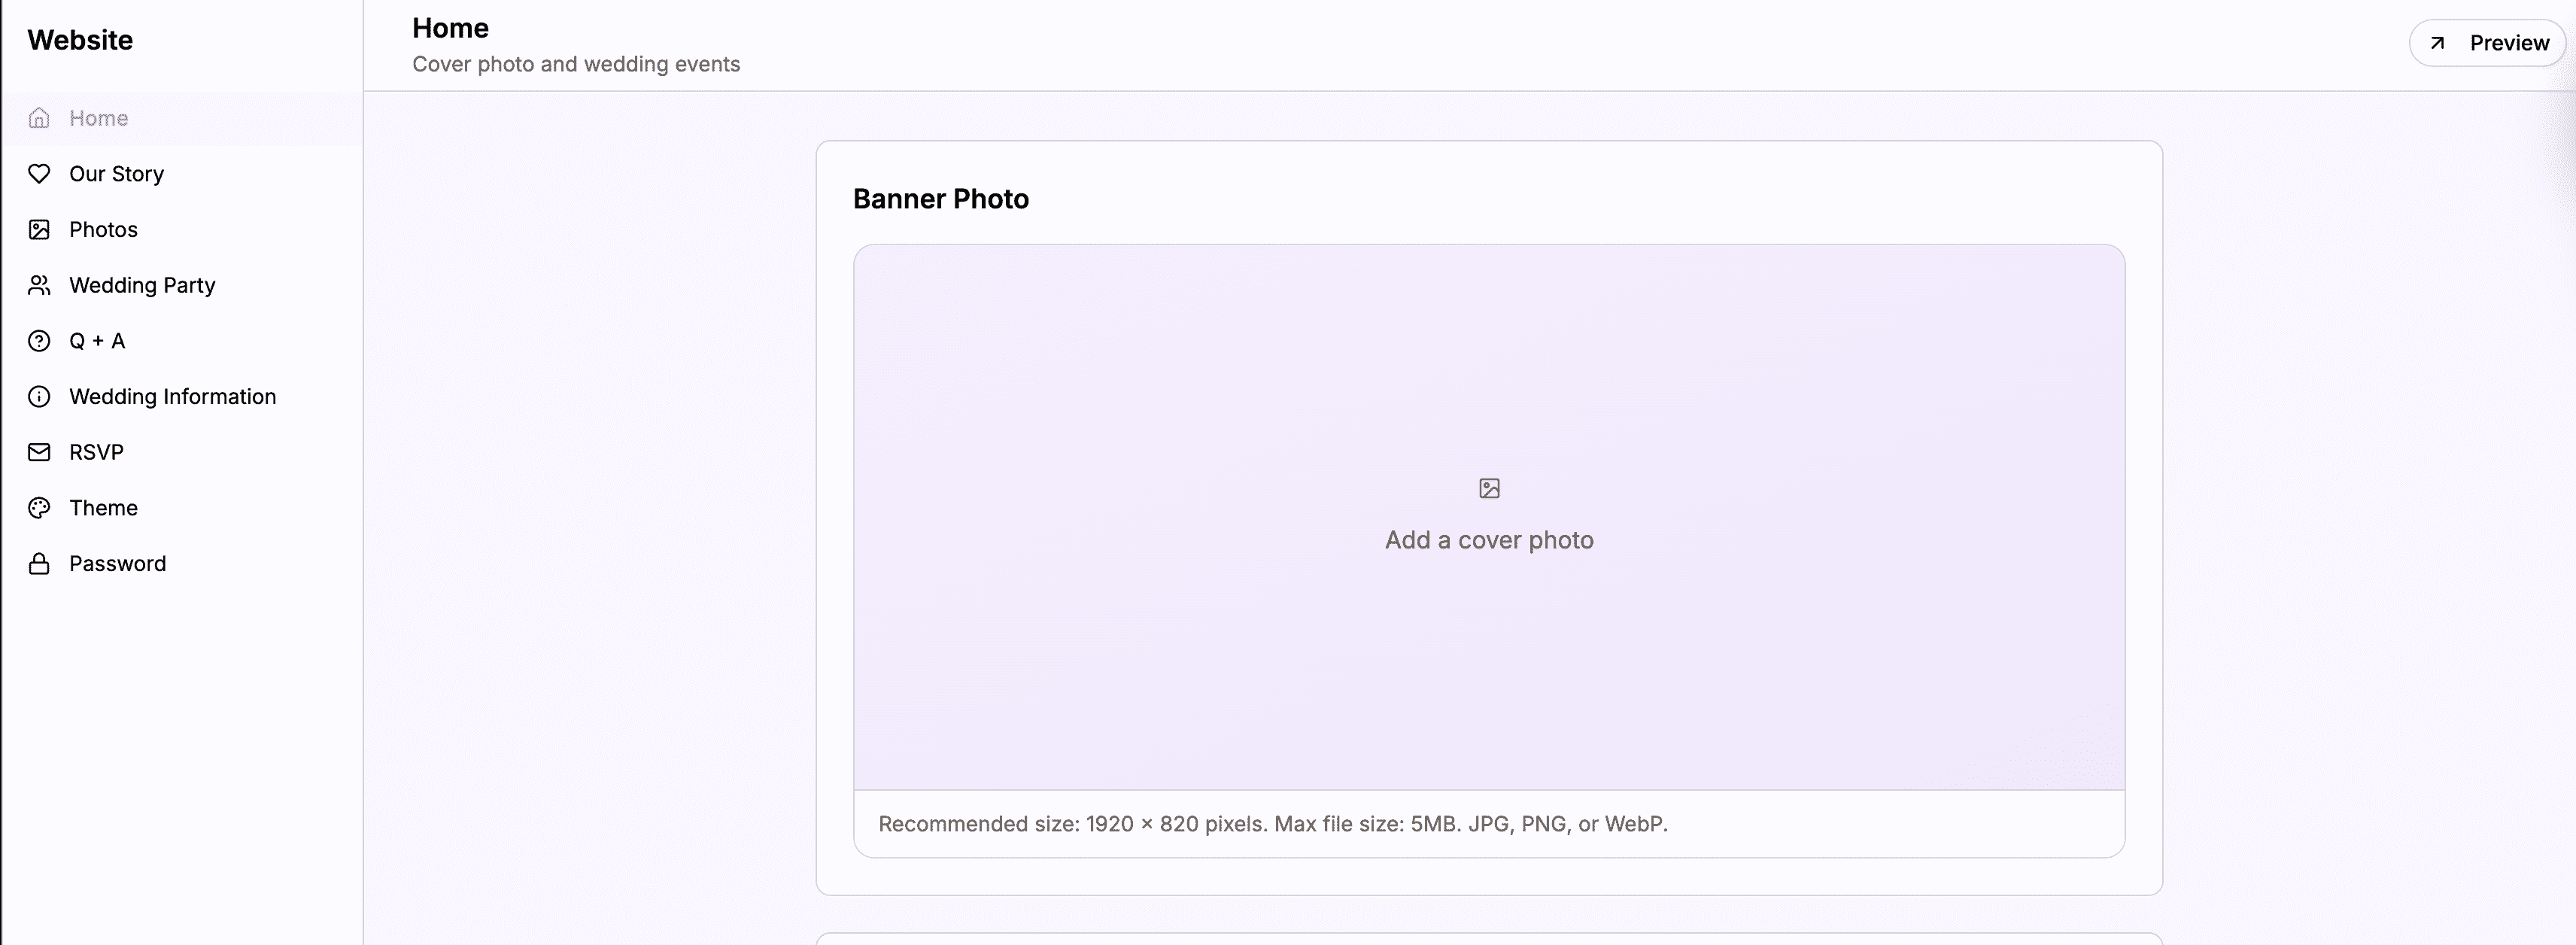 The banner photo upload area where you can drag and drop or click to upload
Tips for a Great Cover Photo
- Use a high-quality image – Your cover photo will be displayed large, so blurry or low-resolution images won’t look good
- Landscape orientation works best – Horizontal images fill the banner area more naturally than vertical ones
- Consider your theme – Choose a photo that complements the colors of your selected theme
- Keep the focus on you – The best cover photos feature you as a couple, not just scenery
Setting Your Partner Names
Your names are displayed prominently on the Home page and throughout your website. You’ll need to enter both partners’ full names.
How to Set Partner Names
- Find the Partner Details section in the editor
- Enter the first partner’s full name in the Partner 1 Full Name field
- Enter the second partner’s full name in the Partner 2 Full Name field
- Your names will automatically save as you type
 The partner name fields where you enter both full names
Name Format
Enter your names as you want them to appear formally. For example:
- “James Kamau”
- “Sarah Wanjiku Njoroge”
The order of names doesn’t matter – you can put either partner first based on your preference.
Using Preferred Names (Display Names)
While your full names are important for formal purposes, you might want shorter or more casual names to appear on your website. That’s what Preferred Names are for.
How Preferred Names Work
- When you enter a full name, the Preferred Name field automatically fills with the first name
- For example, if you enter “Sarah Wanjiku Njoroge,” the preferred name will auto-fill as “Sarah”
- You can edit the preferred name to anything you want
When to Customize Preferred Names
You might want to customize preferred names if:
- You go by a nickname (e.g., “Sam” instead of “Samuel”)
- You want a more informal feel (e.g., “Jamie” instead of “James”)
- You use a middle name (e.g., “Wanjiku” instead of “Sarah”)
 The preferred name fields auto-fill from your full names but can be customized
Where Names Appear
- Full names are used in the website header and formal contexts
- Preferred names appear in casual contexts throughout the site, such as “James & Sarah” in the navigation
Setting Your Wedding Date
The wedding date is displayed on your Home page and is used to calculate the countdown timer that guests see.
How to Set Your Wedding Date
- Find the Wedding Date field in the Partner Details section
- Click on the date picker
- Select your wedding date from the calendar
- The date will automatically save
 The date picker lets you select your wedding date from a calendar
What Happens After You Set a Date
Once you set a wedding date:
- A countdown timer appears on your Home page showing days until the wedding
- Your main event (Wedding Ceremony) automatically gets this date
- The date appears in the website header and event listings
If you haven’t finalized your date yet, you can leave this blank and add it later. Guests will see “Date TBD” until you set a date.
Adding Your Wedding Location
The location tells guests where your wedding will take place. The editor uses Google Places autocomplete to help you find the exact venue.
How to Add Your Location
- Find the Wedding Location section in the editor
- Click on the Full Address field
- Start typing your venue name or address
- A dropdown will appear with matching locations
- Click on the correct location from the dropdown
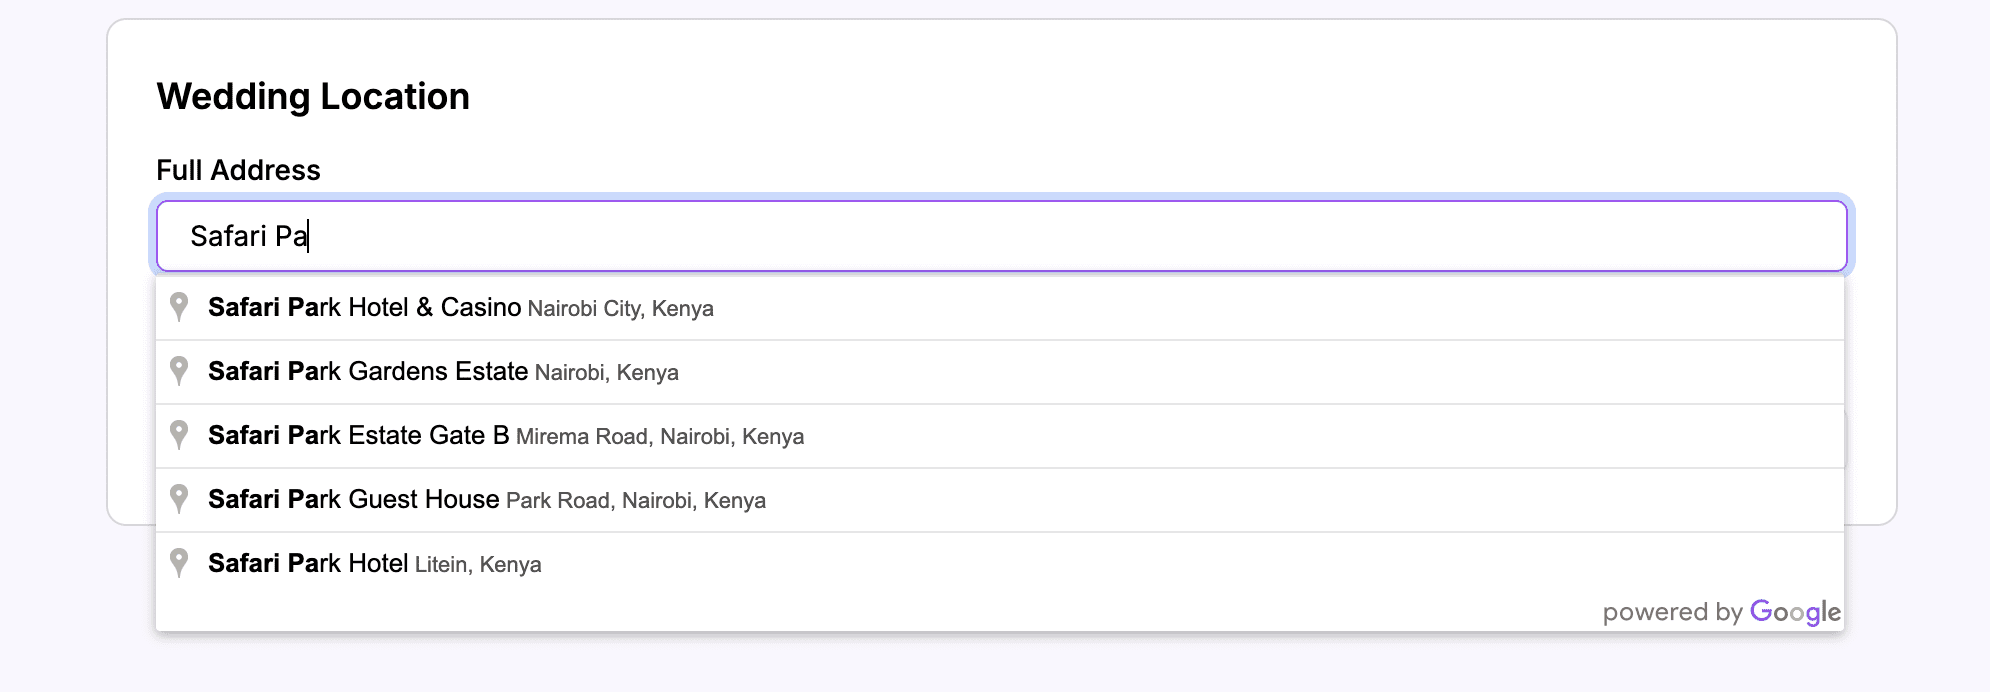 As you type, Google Places suggests matching locations
What Gets Auto-Filled
When you select a location from the dropdown:
- The Full Address field shows the complete address
- The City field auto-fills with the city name
- The Country field auto-fills with the country
- A Google Maps link is automatically generated for guests
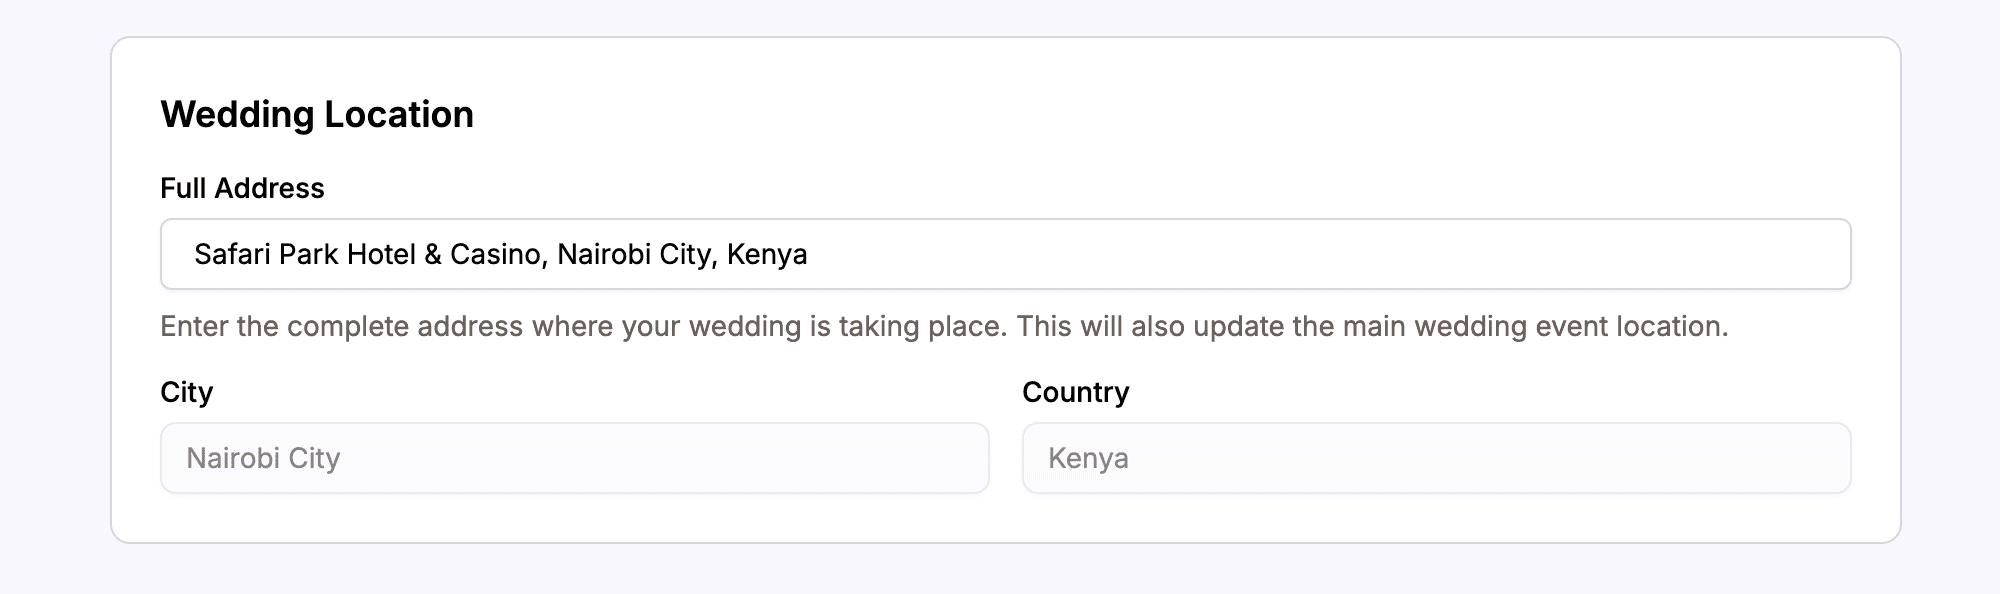 After selecting a location, the city and country are automatically filled in
Tips for Location
- Be specific – Selecting an exact venue (like “Karura Forest”) works better than just a city
- The city and country fields are read-only – They’re automatically determined from your address selection
- You can update this later – If your venue changes, just search for a new location
- This location is shared with your main event – Changing it here also updates your Wedding Ceremony event
How Events Appear on the Home Page
Your Home page displays a list of all enabled events from your wedding. These events are managed in a separate section of the dashboard (Events), but they appear automatically on your Home page.
Each event shows:
- Event name (e.g., “Wedding Ceremony,” “Reception”)
- Date and time
- Venue name and address
- Google Maps link for directions
Managing Events
To add, edit, or reorder events, go to the Events section in your dashboard sidebar. Any changes you make there will automatically appear on your Home page.
Note: The Home page editor doesn’t let you edit events directly – it only shows the location settings that apply to your main wedding event.
Preview Your Changes
All changes in the Home page editor save automatically. To see how your Home page looks to guests:
- Click the View Website button in the top navigation
- Or visit your wedding website URL directly (yourslug.harusihub.com)
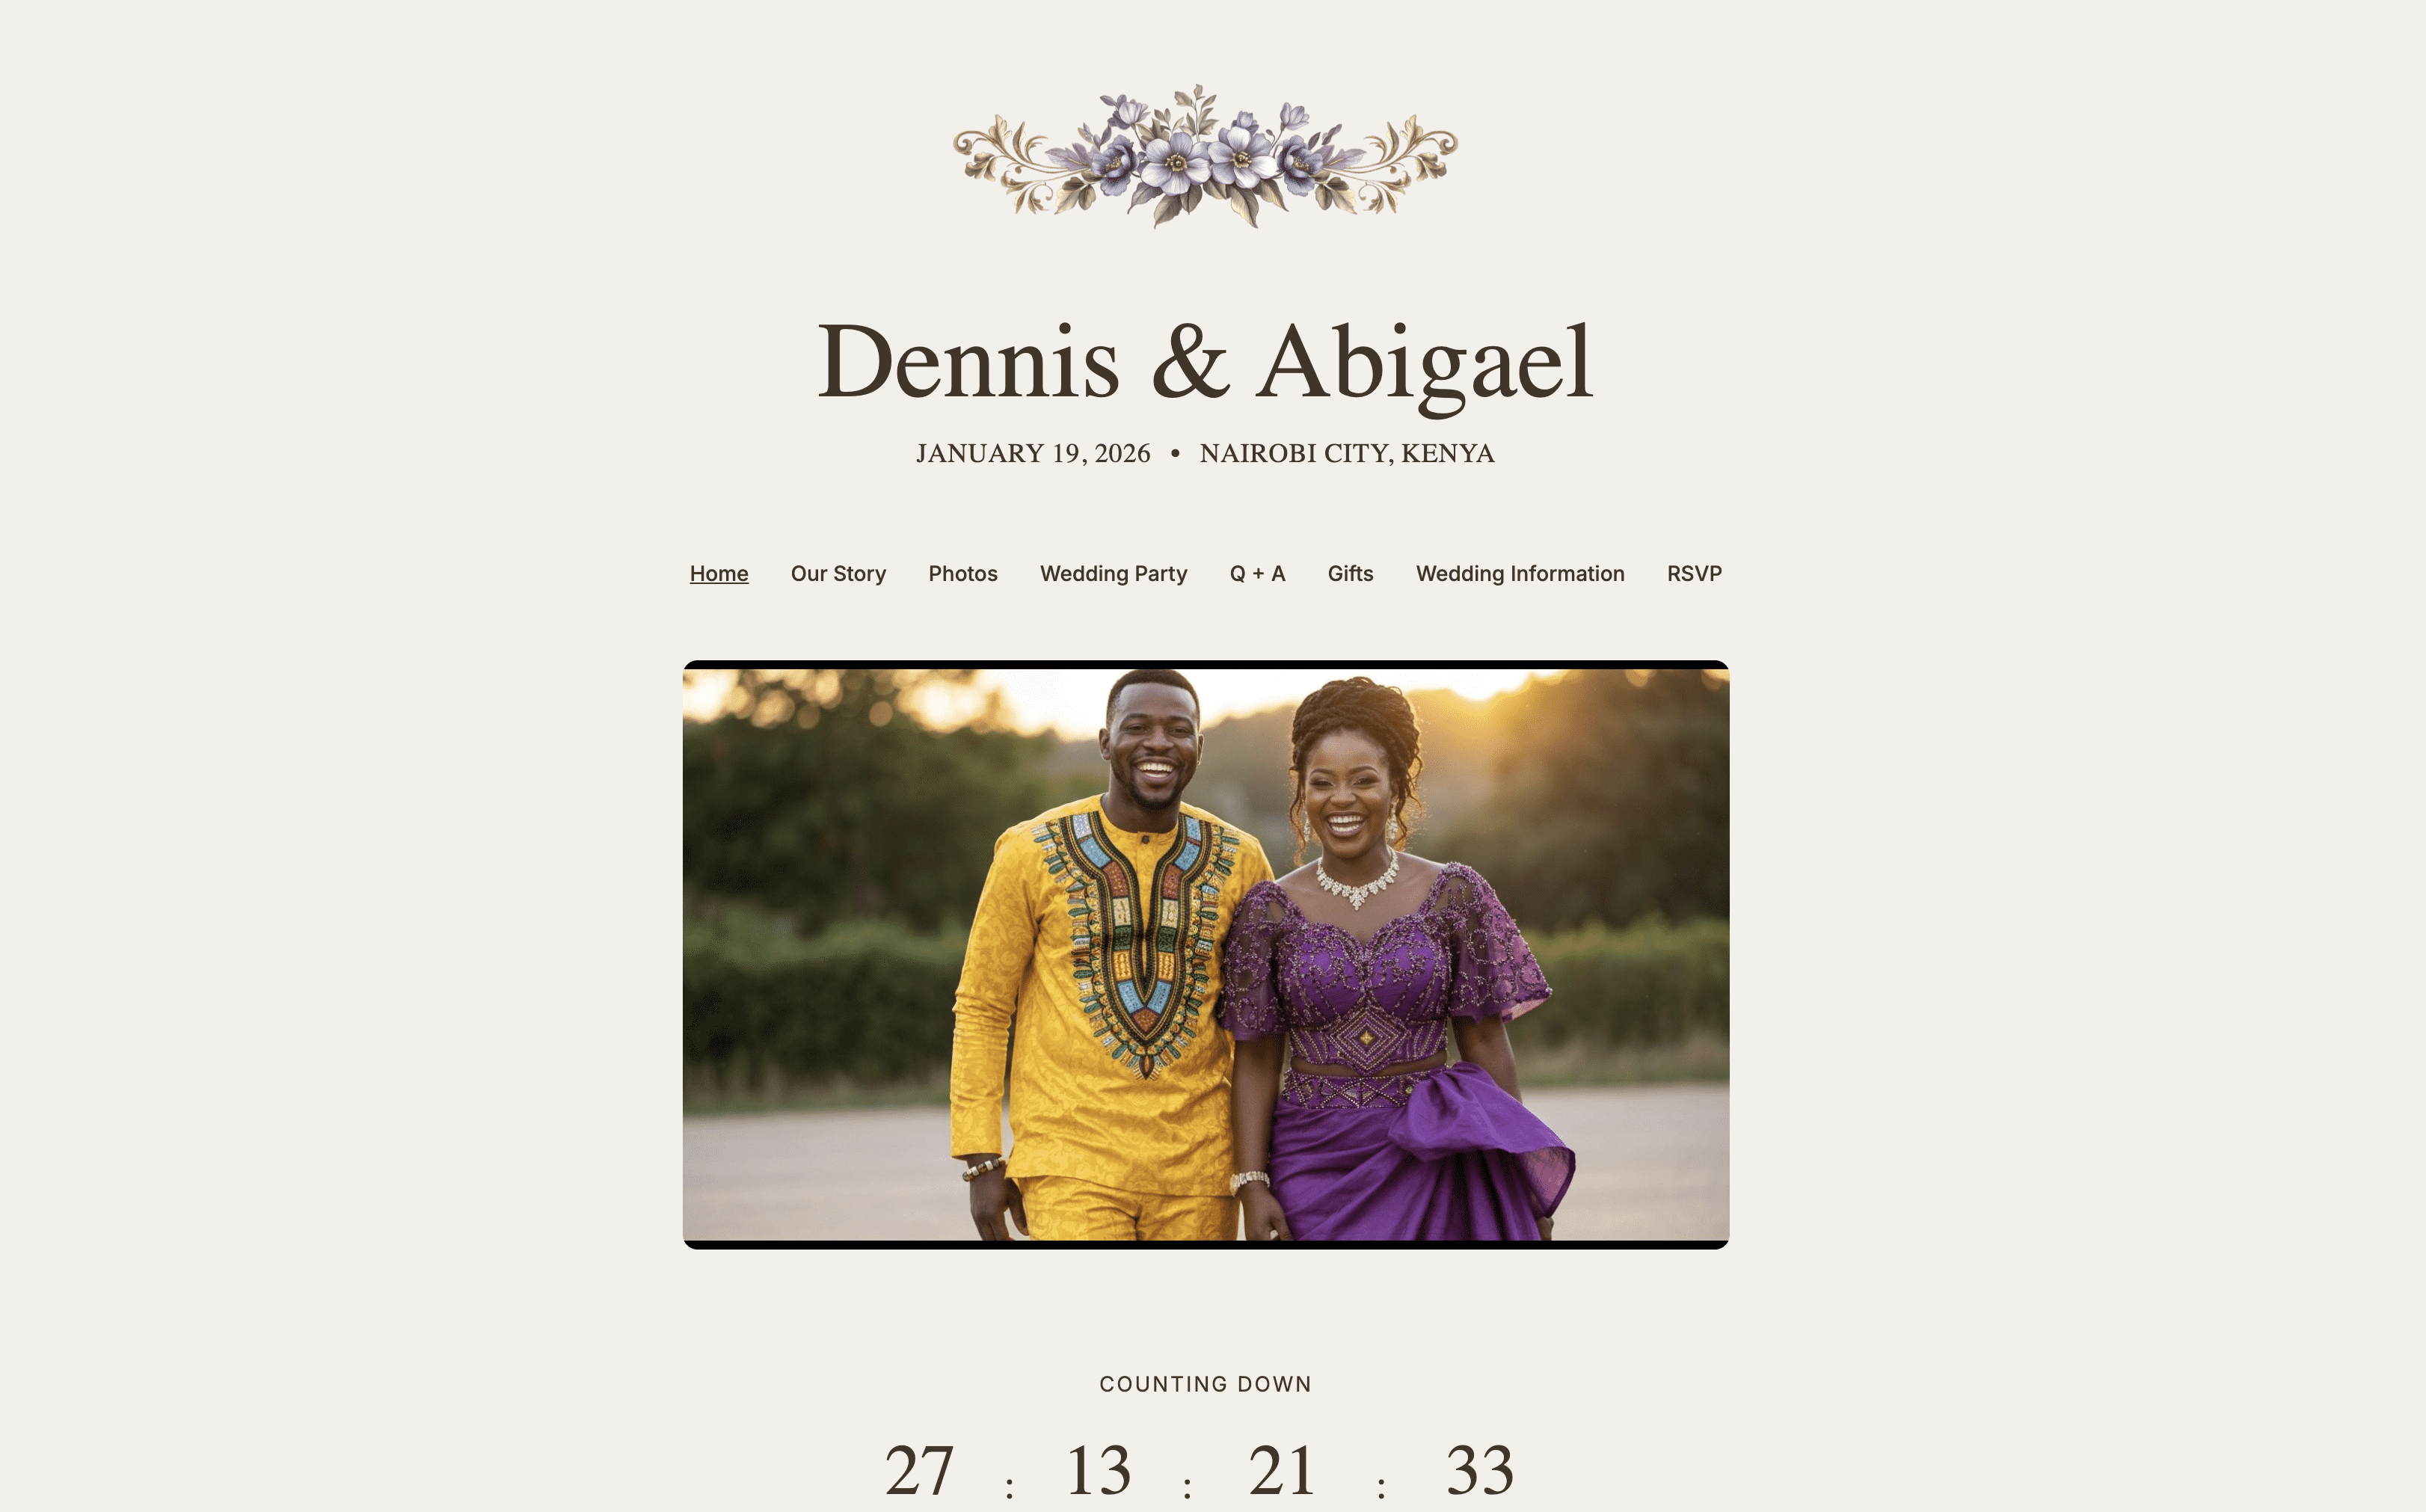 Your completed Home page as guests will see it
Summary
The Home page editor lets you configure the most essential information about your wedding:
| Setting | What It Controls |
|---|---|
| Banner Photo | The large image at the top of your Home page |
| Partner Full Names | Your formal names used throughout the site |
| Preferred Names | Casual display names (auto-generated from first names) |
| Wedding Date | When your wedding is, and the countdown timer |
| Full Address | Your venue, with auto-generated city, country, and maps link |
Once you’ve filled in these details, your Home page is ready to welcome guests. You can always come back and update any of these settings as your plans develop.
Next Steps
Now that your Home page is set up, consider customizing these other pages:
- Our Story – Share how you met and your journey together
- Photos – Add engagement photos or pre-wedding pictures
- Wedding Party – Introduce your bridesmaids and groomsmen
- Info – Share practical details like dress code and parking
Ready to create your wedding website?
Get started for free in under 10 minutes.
Create Your Website. Its Free