How to Edit Your Our Story Page
Learn how to share your love story on your wedding website. Create timeline entries, add photos, and use content blocks to tell guests how you met and fell in love.

How to Edit Your Our Story Page
Your Our Story page is where you share your journey as a couple with your wedding guests. This is the place to tell them how you met, your first date, the proposal, and all the memorable moments that led to your wedding day. This tutorial will walk you through every feature of the Our Story page editor, including the powerful Timeline block that lets you create a visual journey through your relationship.
What the Our Story Page Shows to Guests
When guests visit your Our Story page, they can see:
- Timeline entries – A visual timeline of your relationship milestones with photos and dates
- Text sections – Written stories, anecdotes, or descriptions
- Images – Photos that capture special moments
- Section headers – Titles that organize your content
The Our Story page uses a flexible content block system that lets you mix and match different types of content to tell your story your way.
Accessing the Our Story Editor
To edit your Our Story page:
- Log in to your Harusi Hub account
- From your dashboard, look at the left sidebar
- Click on Website to expand the menu
- Click on Our Story
You’ll see the Our Story page editor with any existing content blocks, or an empty page ready for you to add content.
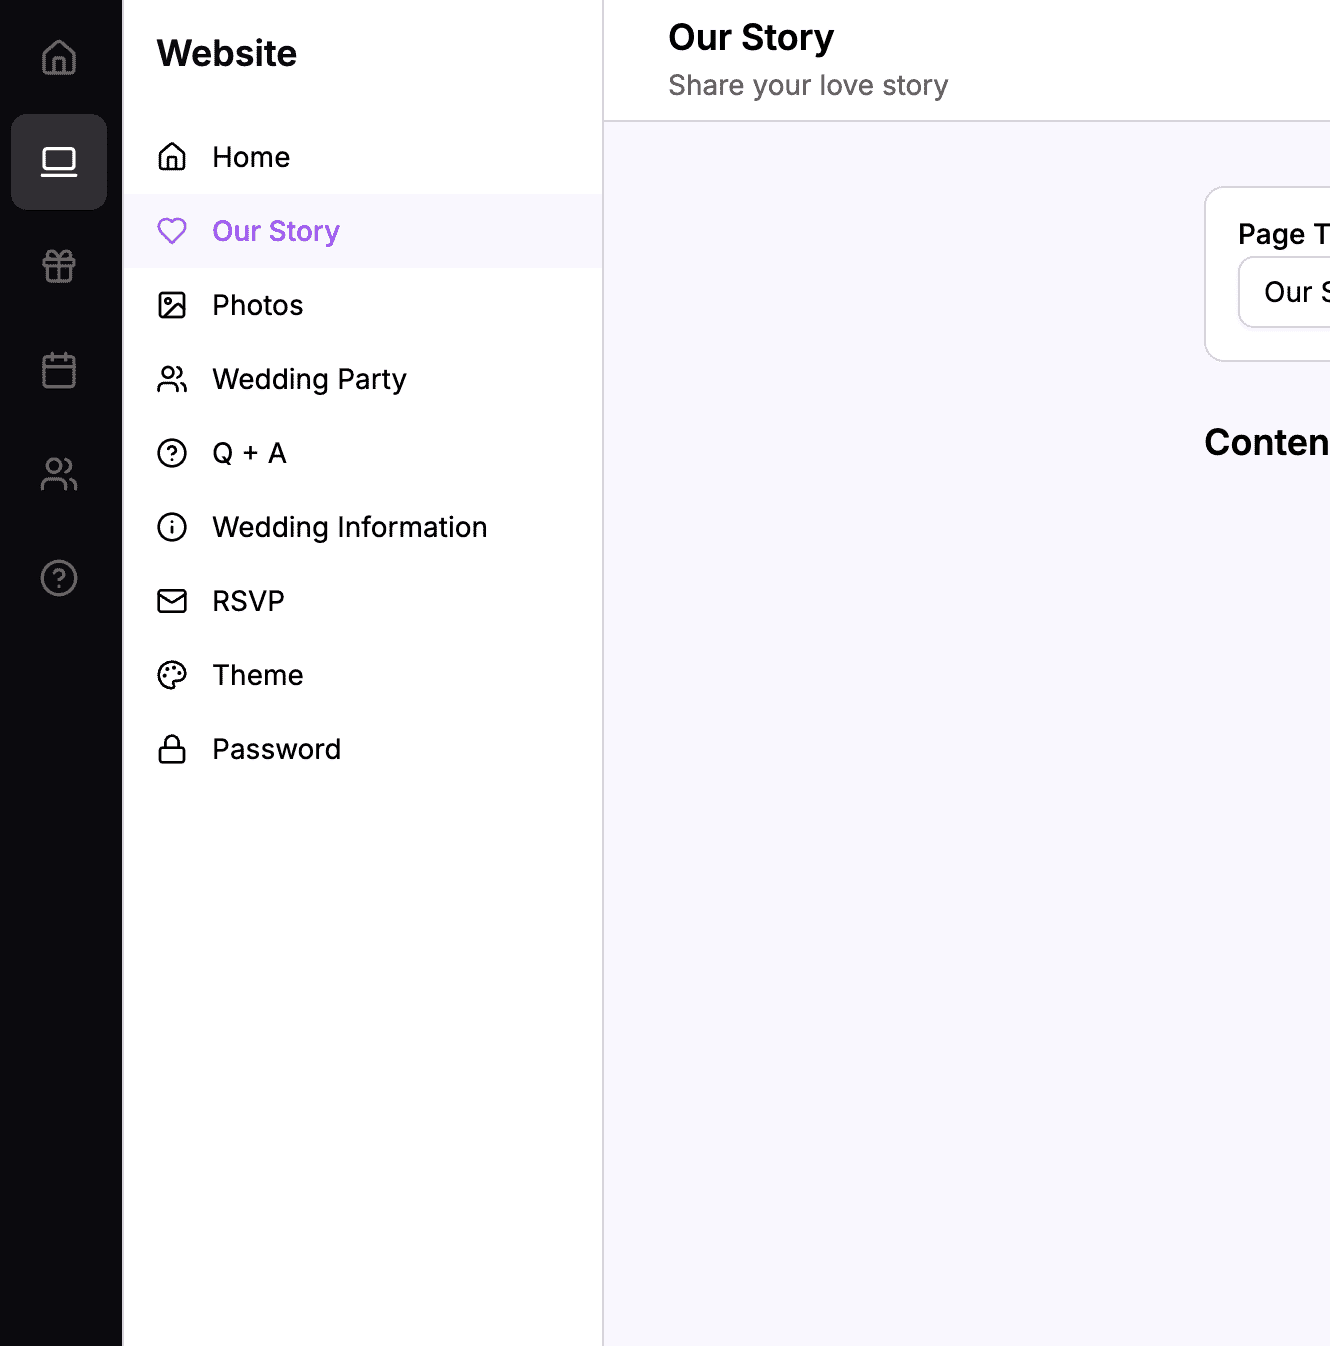 The sidebar navigation with Website > Our Story highlighted
Understanding Content Blocks
The Our Story page editor uses a content block system. Instead of one large text area, your page is made up of individual blocks that you can add, edit, reorder, and delete.
What is a Content Block?
A content block is a single piece of content on your page. Each block has a specific type that determines what it contains:
| Block Type | What It Contains | Best For |
|---|---|---|
| Timeline | Multiple dated entries with photos | Telling your relationship story chronologically |
| Title & Body | A heading and paragraph text | Section headers with descriptions |
| Body Only | Just paragraph text | Additional paragraphs without headings |
| Image | A single photo with alt text | Standalone photos or chapter breaks |
| Spacer | Empty vertical space | Adding breathing room between sections |
Why Use Content Blocks?
Content blocks give you flexibility:
- Mix different content types – Combine timelines, text, and images
- Reorder easily – Drag and drop to rearrange your story
- Edit individually – Update one block without touching others
- Duplicate blocks – Copy a block and modify it for similar content
Adding Your First Block
When you first open the Our Story editor, you’ll see an empty page with an “Add Block” button.
How to Add a Block
- Click the Add Block button
- A dialog appears showing all available block types
- Click on the block type you want to add
- The block is created and the editor opens automatically
- Fill in the block content
- Click Save to save the block
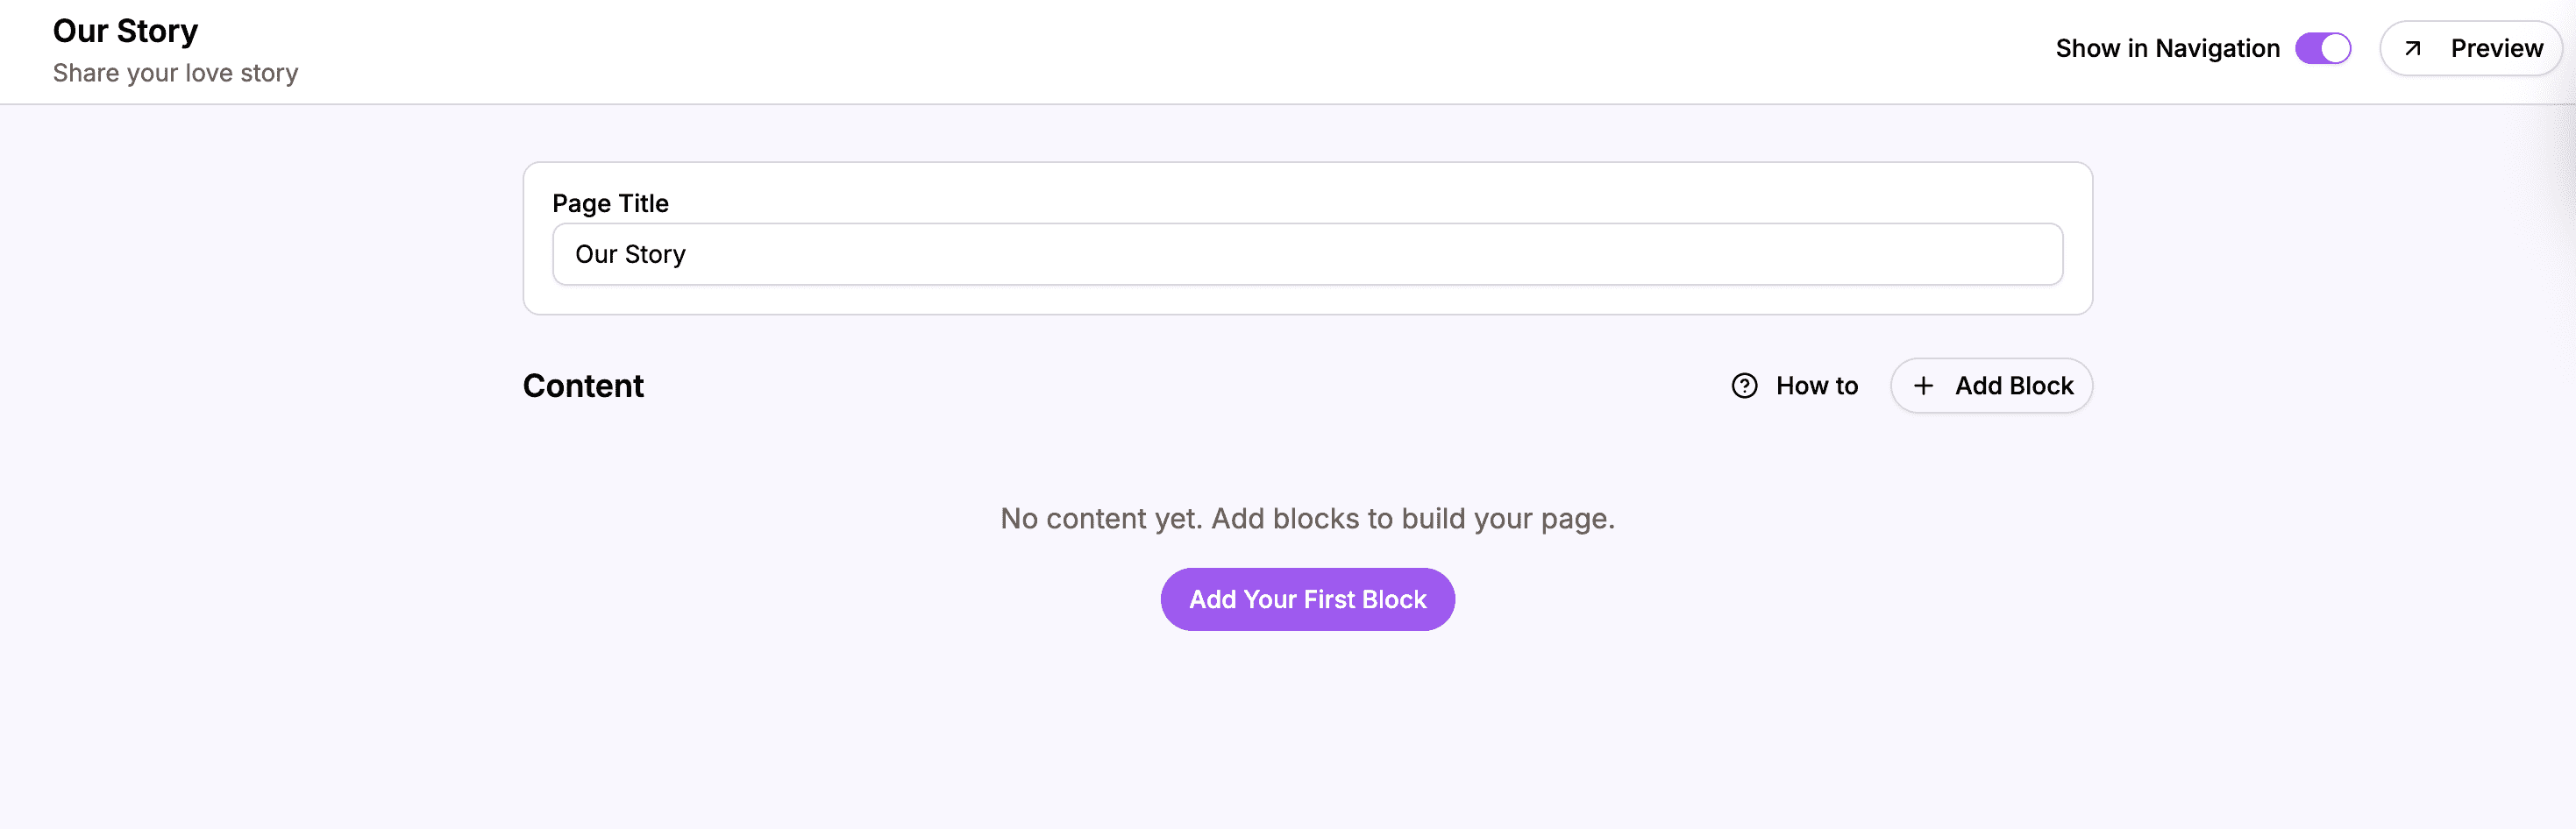 An empty page with the Add Block button ready for your first content
 The block type selection dialog showing Timeline, Title & Body, Body Only, Image, and Spacer options
Using the Timeline Block
The Timeline block is the star feature of the Our Story page. It lets you create a visual timeline of your relationship with photos and descriptions for each milestone.
What the Timeline Block Contains
A Timeline block contains multiple entries. Each entry has:
- A photo – An image representing that moment
- A date – When this moment happened
- A description – Text describing what happened
Creating a Timeline Block
- Click Add Block
- Select Timeline Entry from the options
- The Timeline editor opens
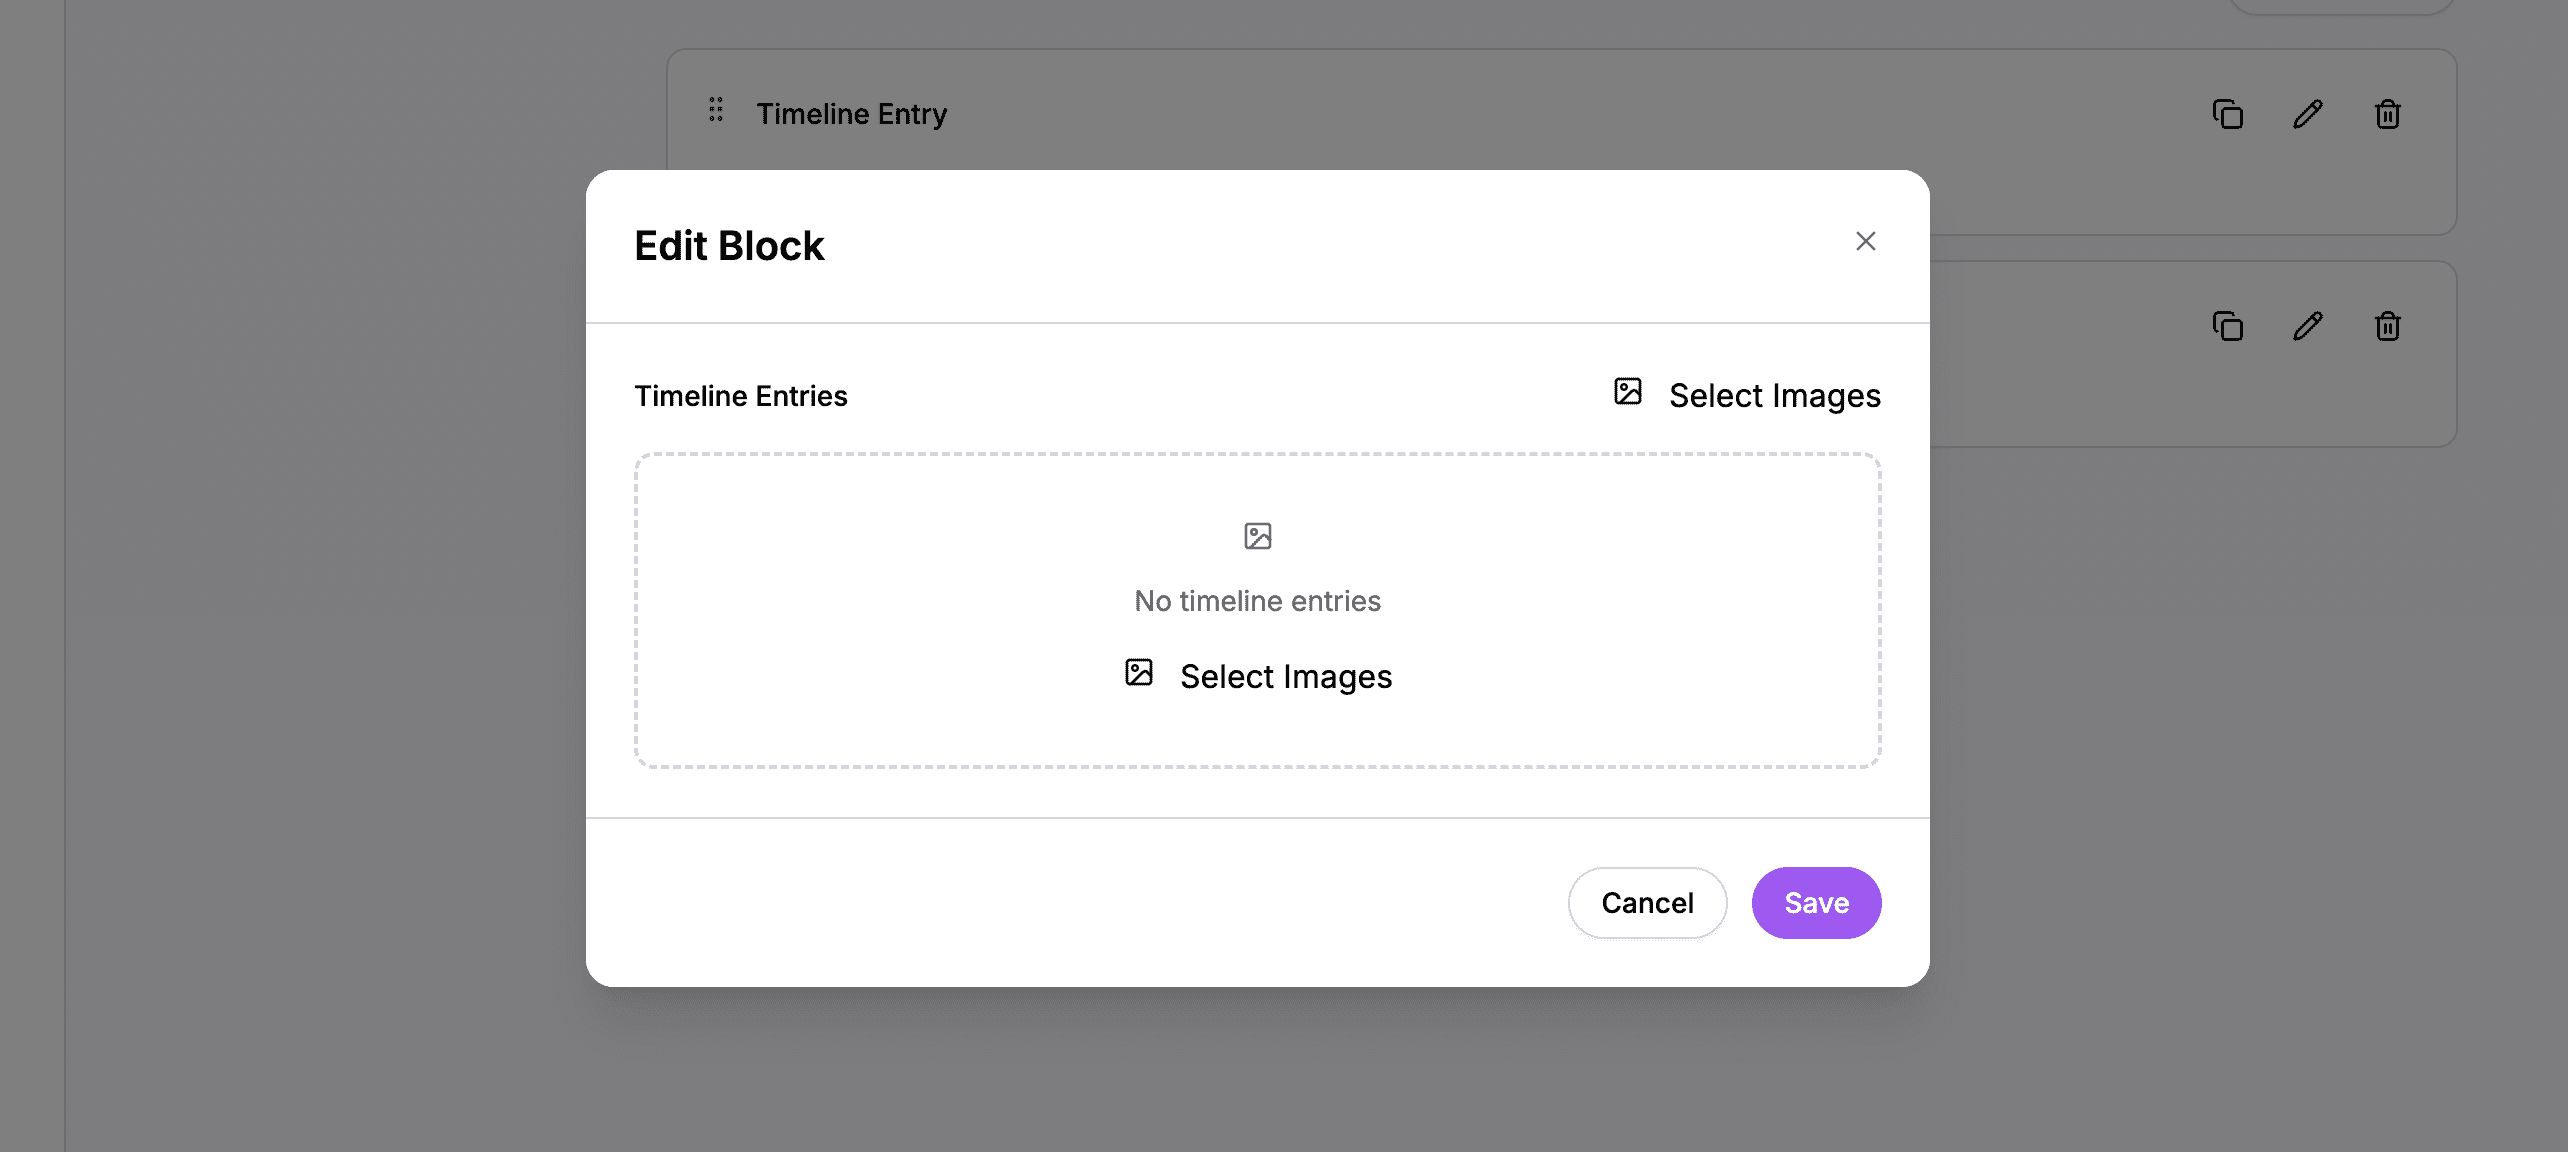 The Timeline block editor with space to add your relationship milestones
Adding Timeline Entries
To add an entry to your timeline:
- Click Add Entry or the upload area
- Select a photo from your computer
- The entry is created with the photo
 Click Add Entry or drag photos to start adding milestones
Automatic Date Extraction (EXIF)
Here’s a powerful feature: when you upload a photo, the editor automatically reads the date from the photo’s metadata (called EXIF data). Most phone and camera photos include the date they were taken.
- If the photo has EXIF date data, the date field is automatically filled
- You can see “Date extracted from photo” confirmation
- You can always change the date manually if needed
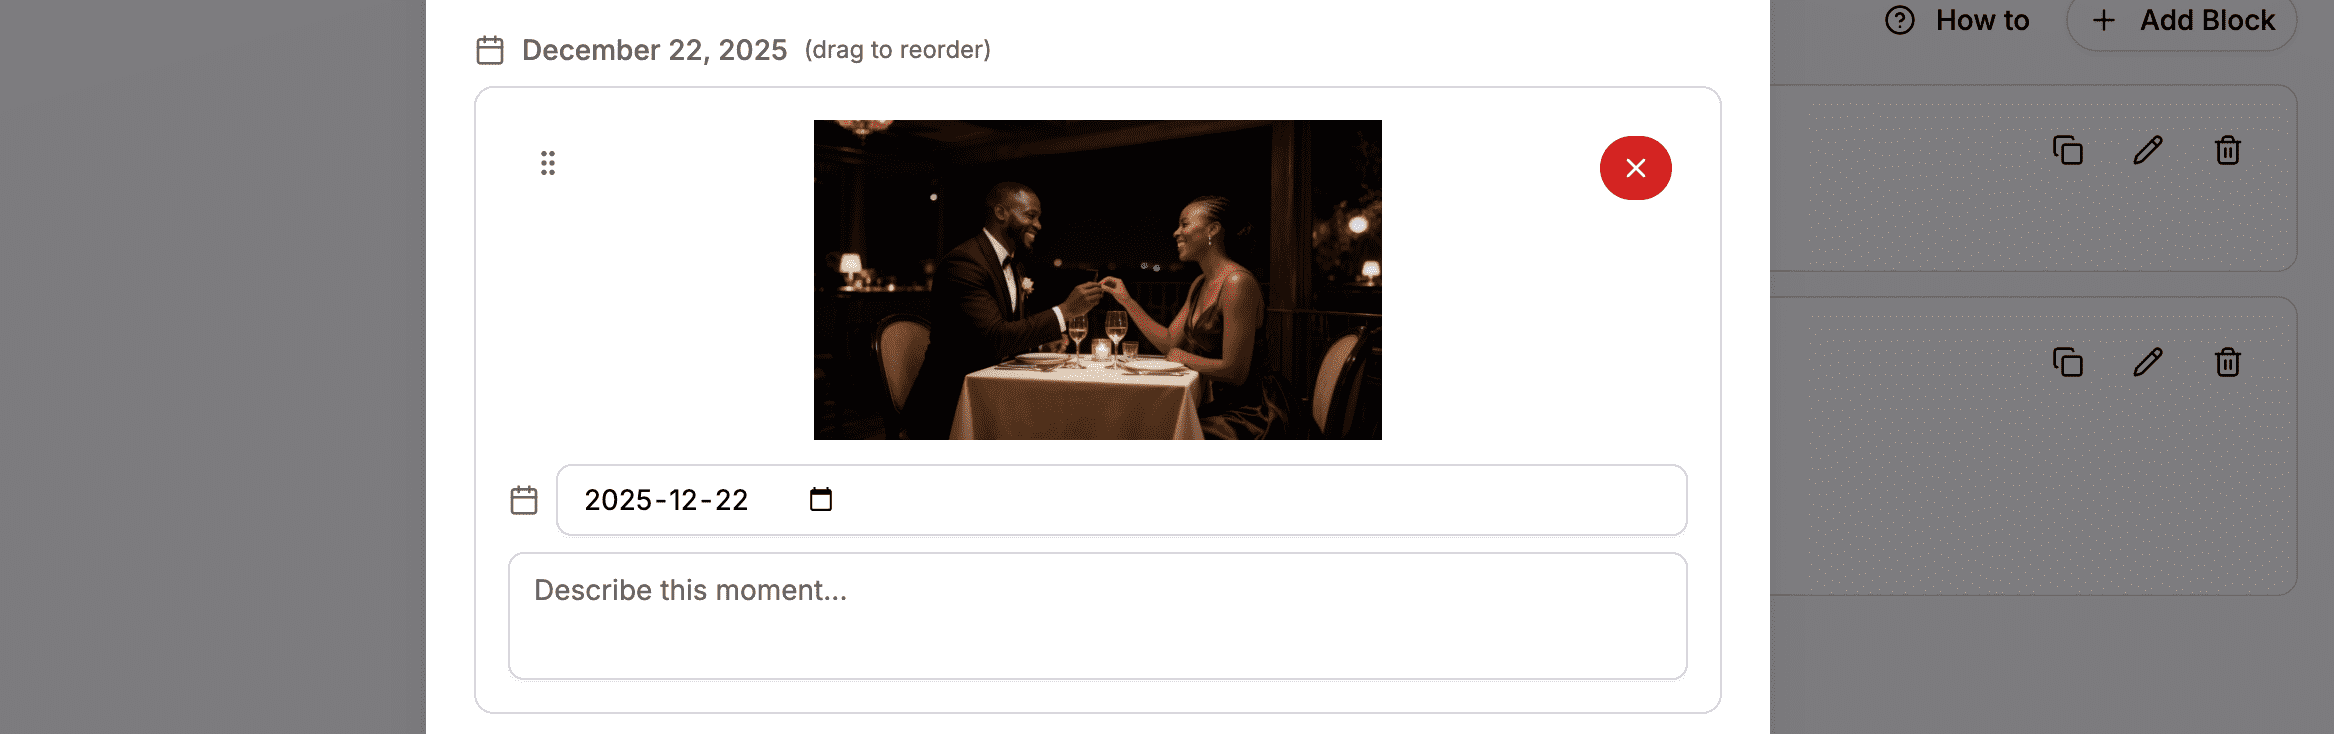
 The date was automatically extracted from the photo’s metadata
This is especially helpful if you’re uploading old photos from your phone – the dates are filled in automatically!
Writing Entry Descriptions
Each timeline entry needs a description. Click on the entry to add or edit the description:
- Click on the entry card
- Find the Description field
- Write what happened at this moment
- The description saves automatically
Good descriptions are:
- Specific – “Our first trip to the coast together” is better than “A vacation”
- Personal – Share your feelings and memories
- Concise – A few sentences is usually enough
Managing Multiple Entries
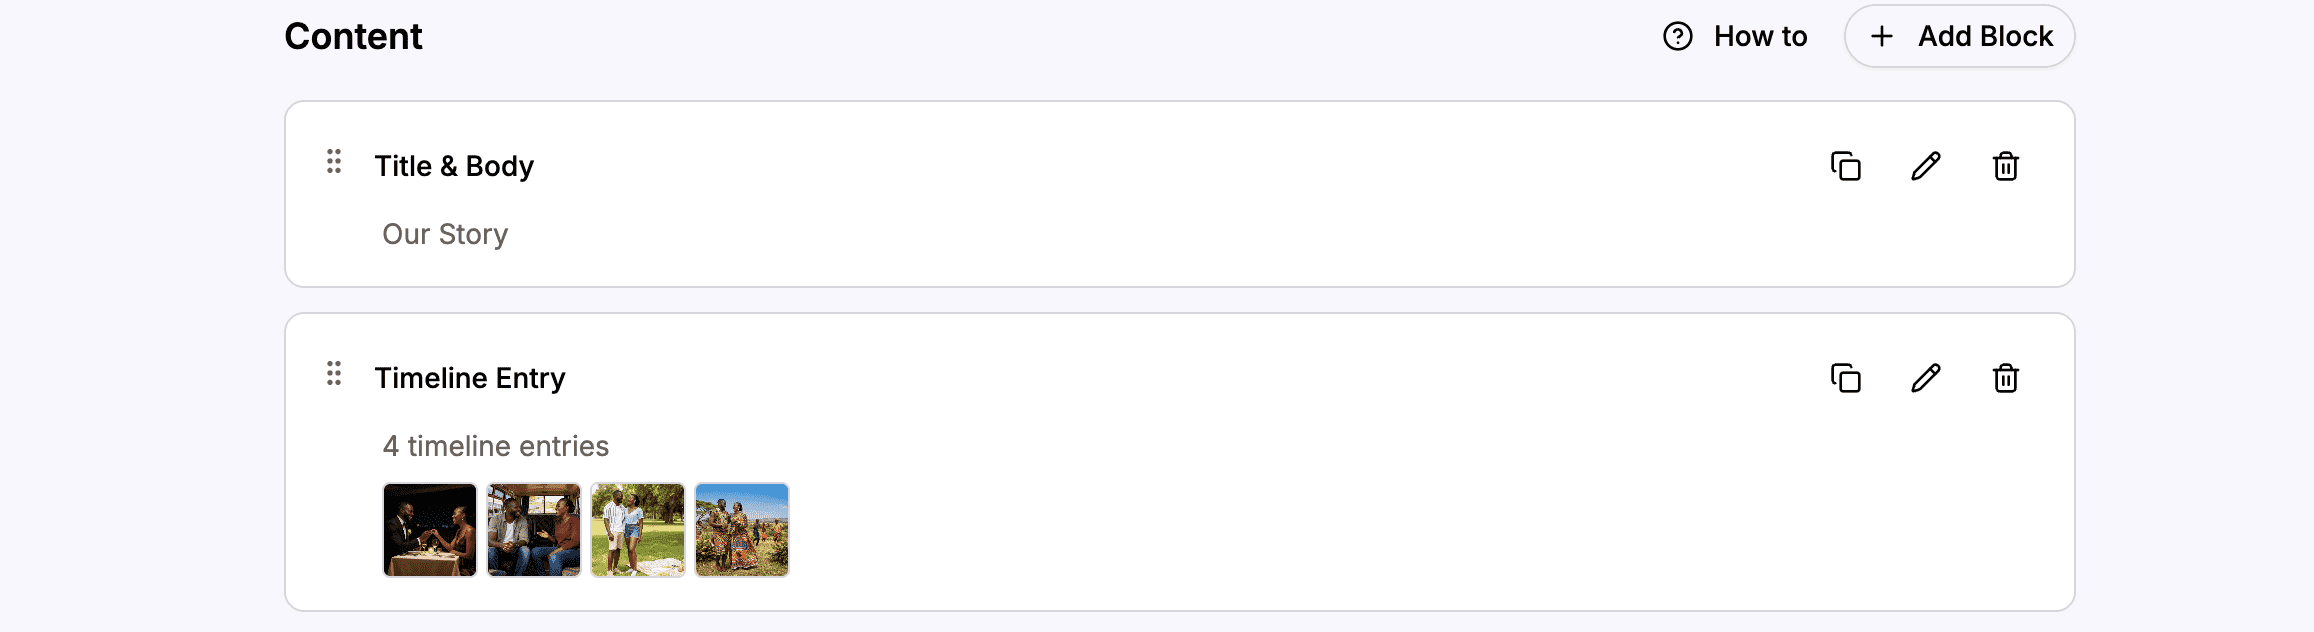
You can add as many entries as you want to a single Timeline block. They’ll appear as a list in the editor:
A timeline with multiple entries, each showing its date and description preview
Reordering Timeline Entries
By default, timeline entries are sorted by date (oldest first). But you can manually reorder entries with the same date:
- Find the entry you want to move
- Grab the drag handle (the icon on the left)
- Drag the entry to a new position
- Release to drop it in place
 Drag entries to reorder them – useful when multiple entries have the same date
How the Timeline Appears on Your Website
On the live website, your timeline is displayed beautifully:
- Desktop: Entries alternate left and right with a connecting line
- Mobile: Entries stack vertically in a single column
- Each entry shows the photo, date, and description
- Guests can click photos to see them larger
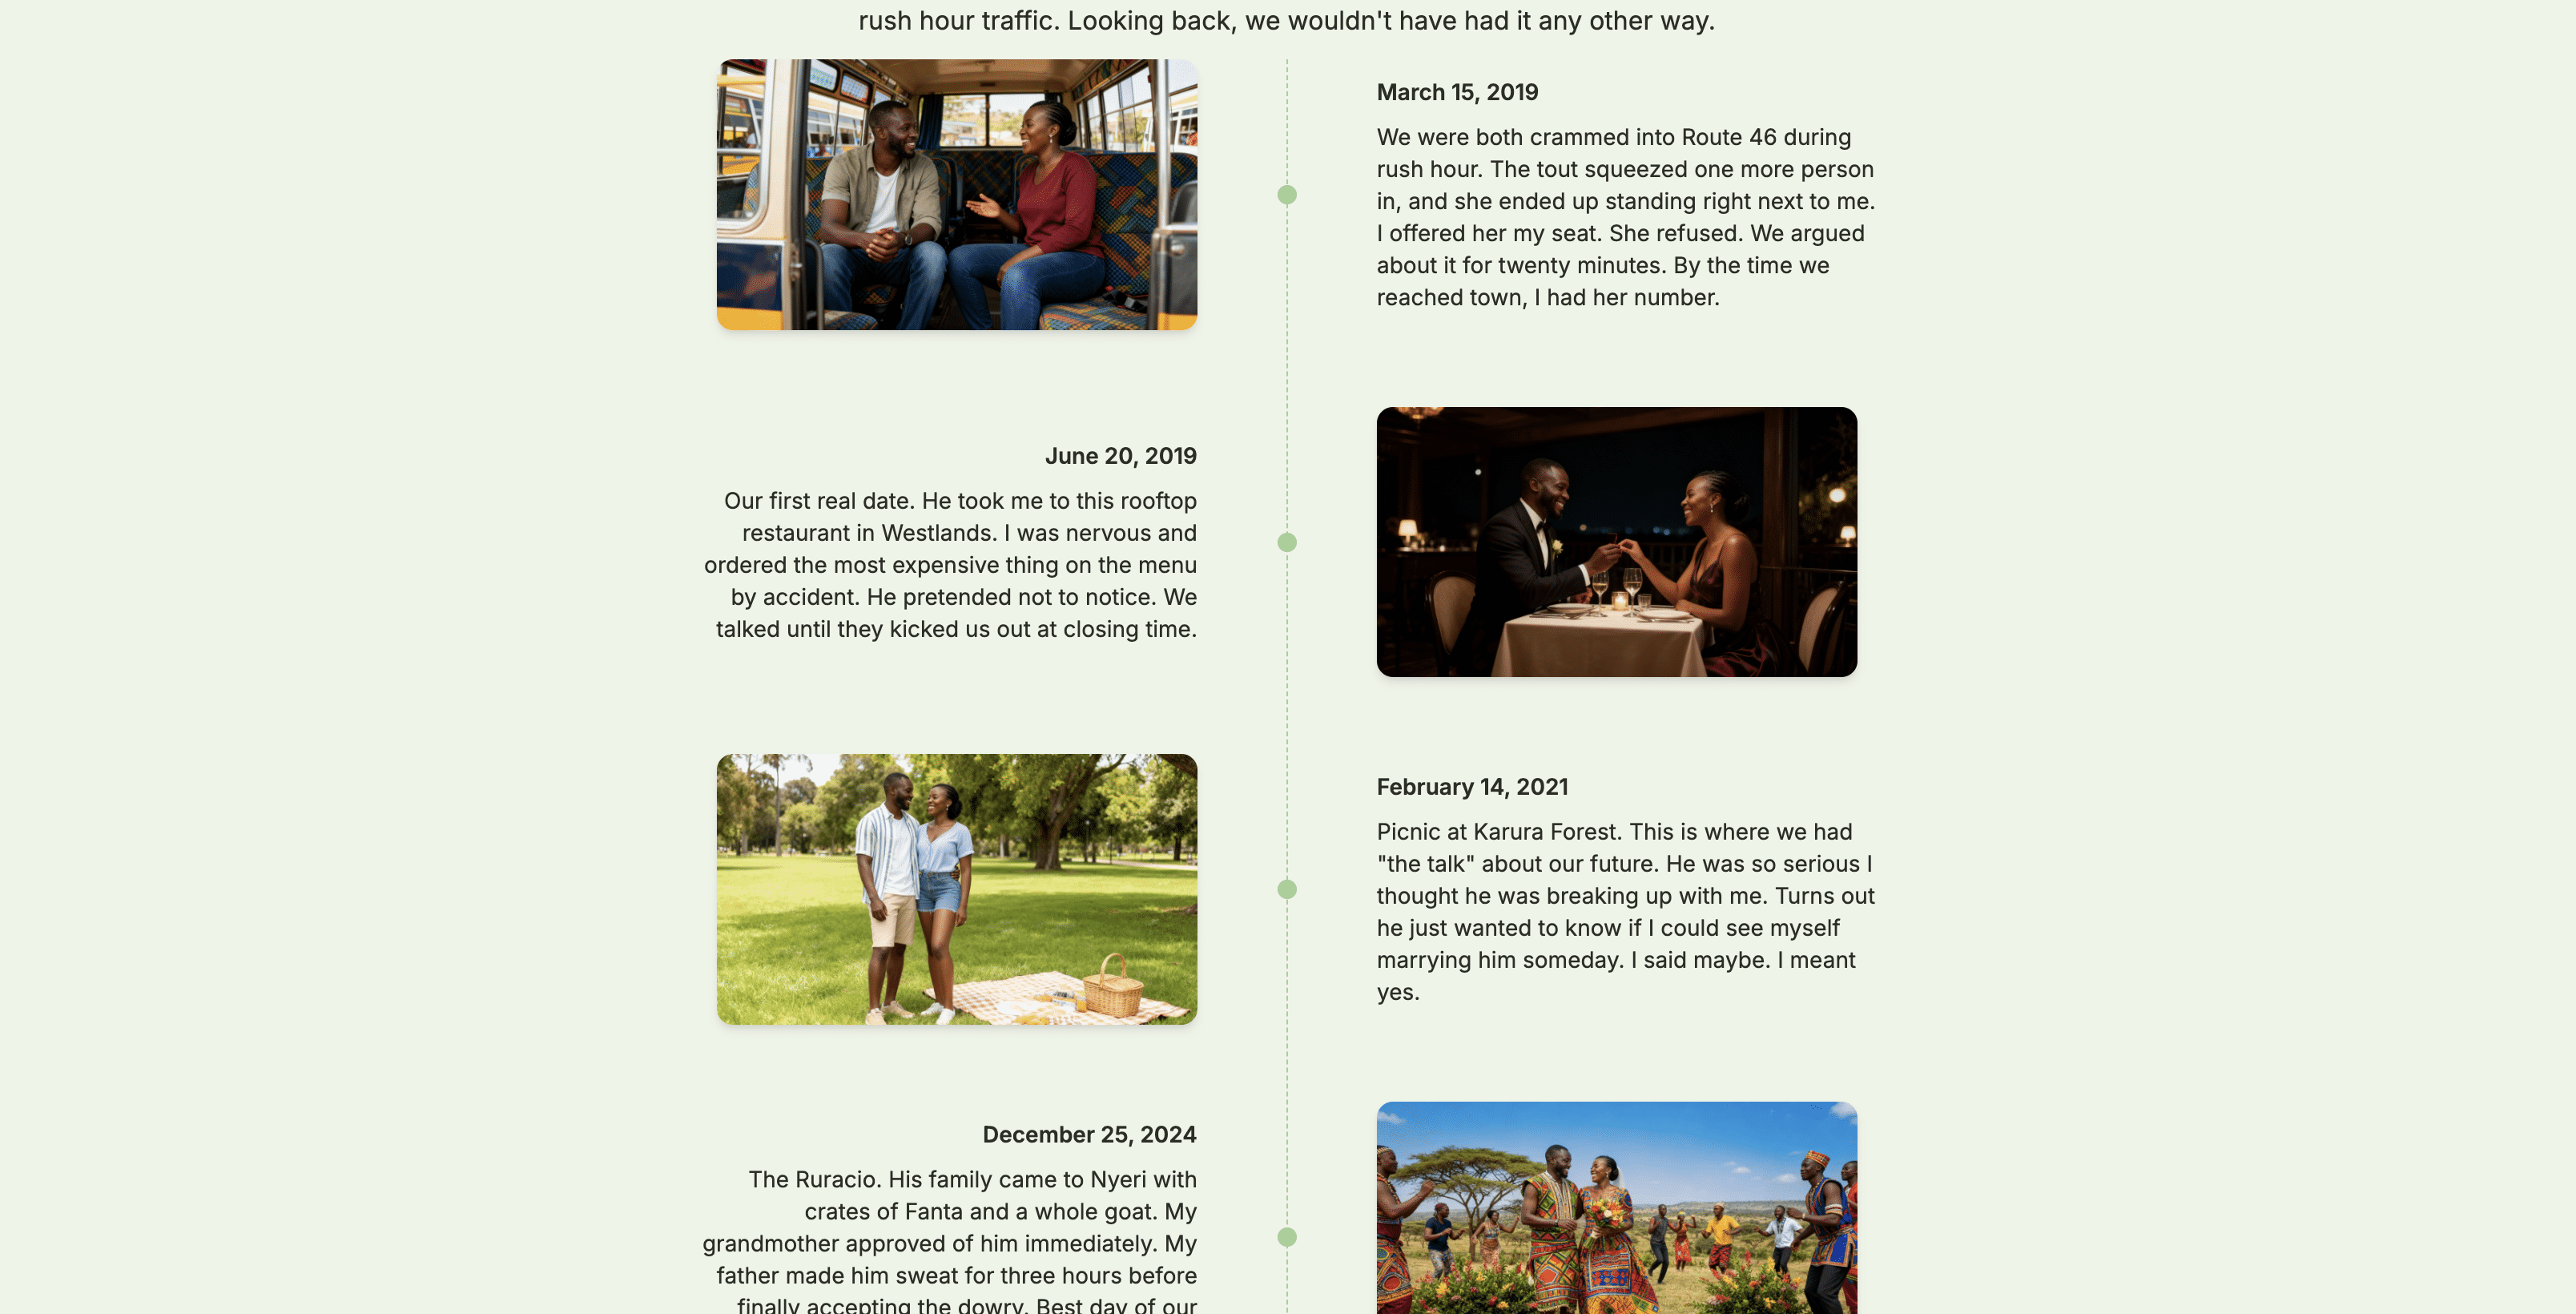 Your timeline as it appears to guests, with alternating entries and a connecting line
Using Title & Body Blocks
Title & Body blocks are perfect for adding section headers with descriptive text. They give your page structure and help break up the content.
Creating a Title & Body Block
- Click Add Block
- Select Title & Body
- Enter your title in the Title field
- Write your content in the Body field
- Click Save
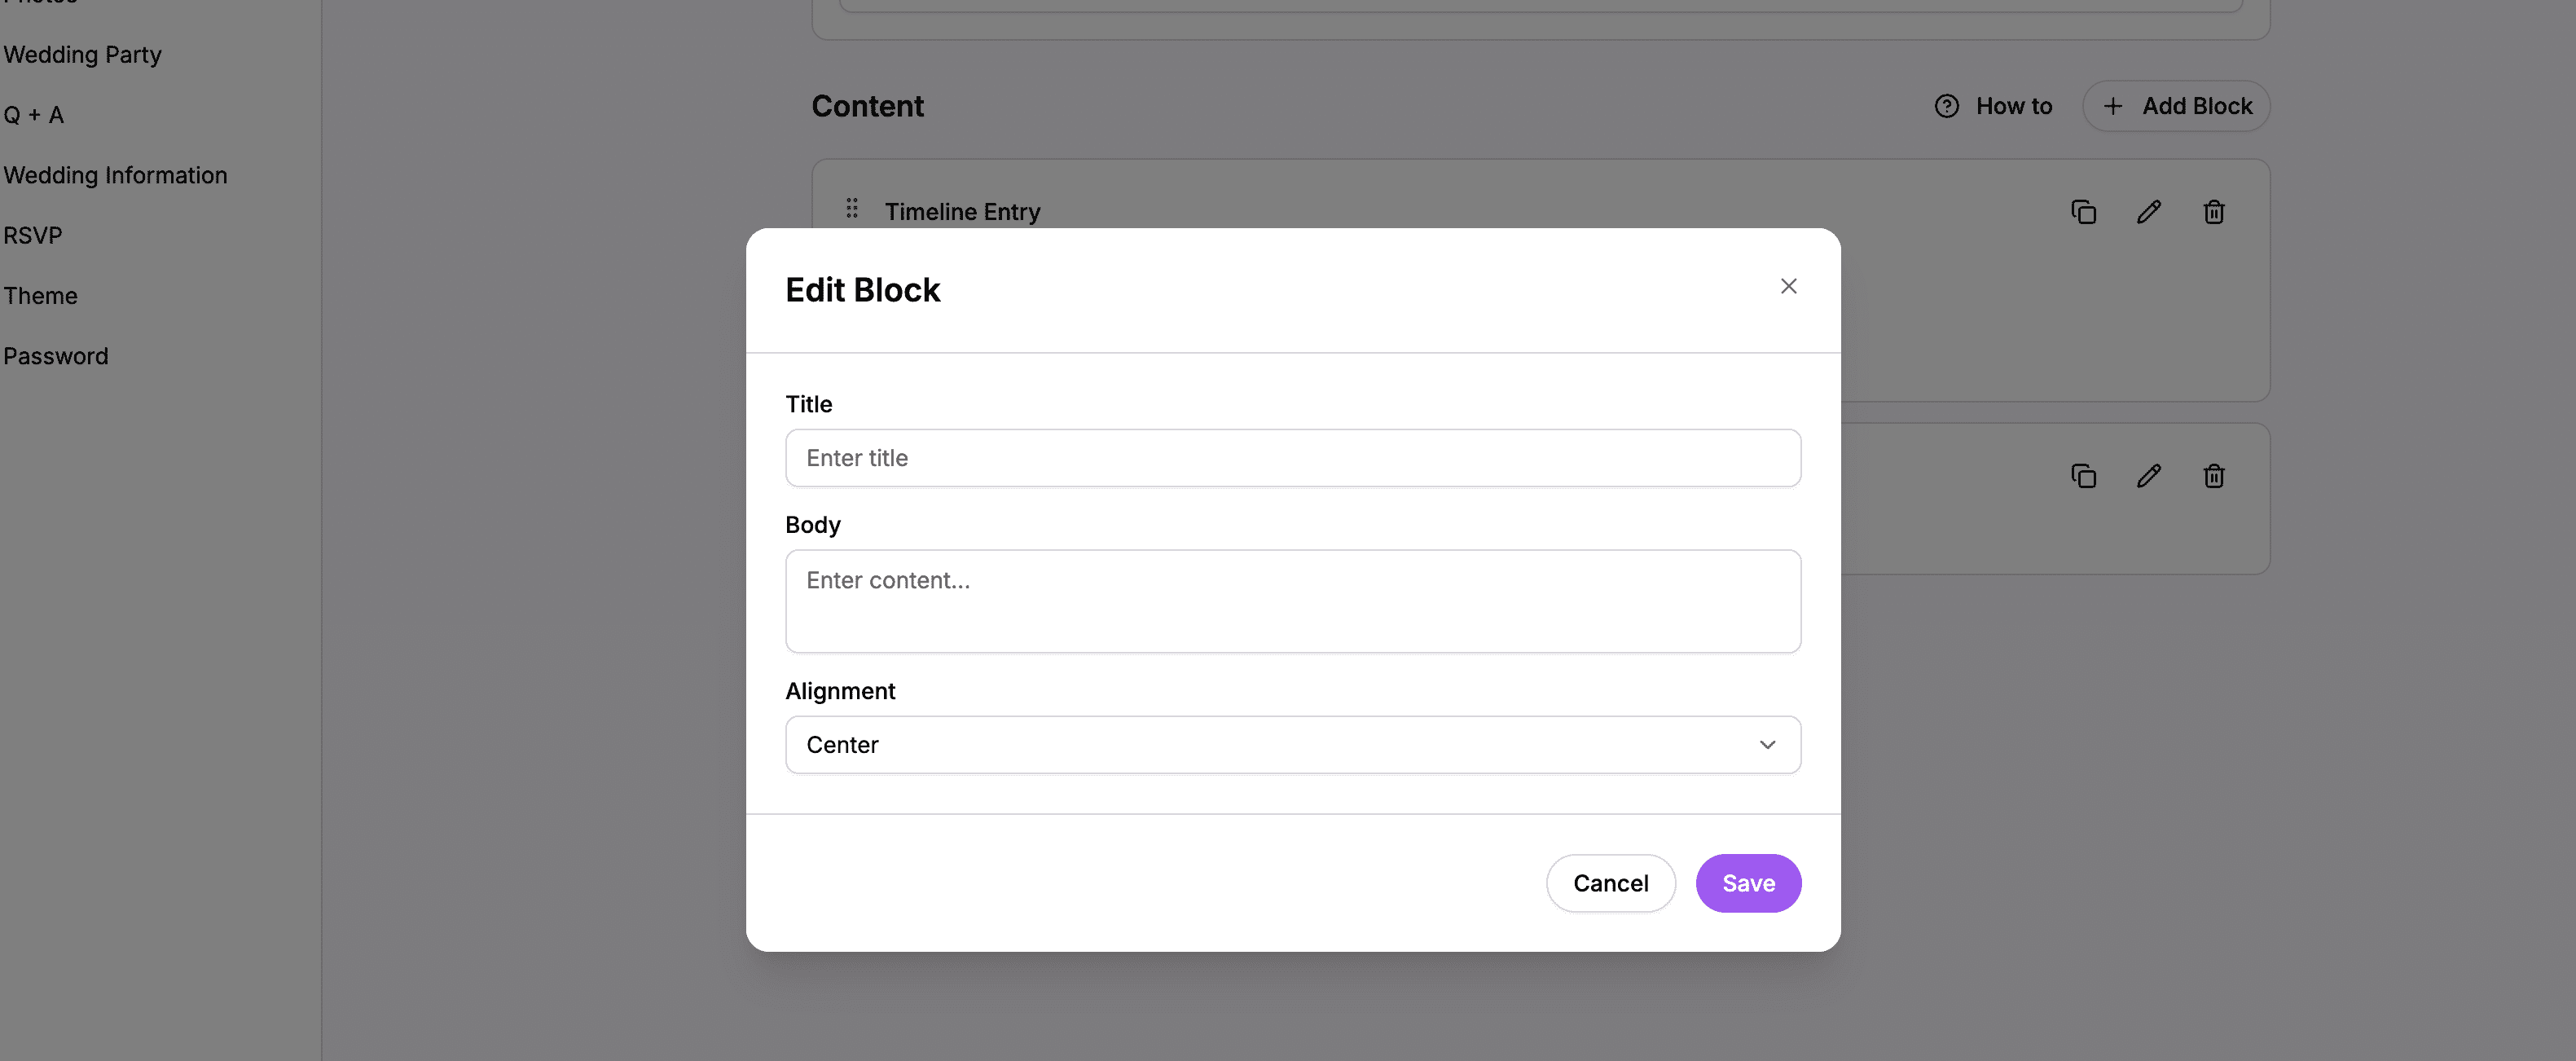 The Title & Body editor with fields for both heading and paragraph text
Setting Alignment
Title & Body blocks can be aligned left, center, or right:
- Find the Alignment dropdown in the editor
- Select your preferred alignment:
- Left – Text aligns to the left
- Center – Text is centered (default)
- Right – Text aligns to the right
 Choose how your text is aligned on the page
When to Use Title & Body
Use Title & Body blocks for:
- Section headers – “How We Met,” “The Proposal,” etc.
- Introductions – A welcoming paragraph at the top of your page
- Conclusions – A final message to guests
Using Body Only (Text) Blocks
Body Only blocks contain just paragraph text without a heading. They’re useful for adding additional paragraphs to a section.
Creating a Body Only Block
- Click Add Block
- Select Text (Body Only)
- Write your content in the Body field
- Click Save
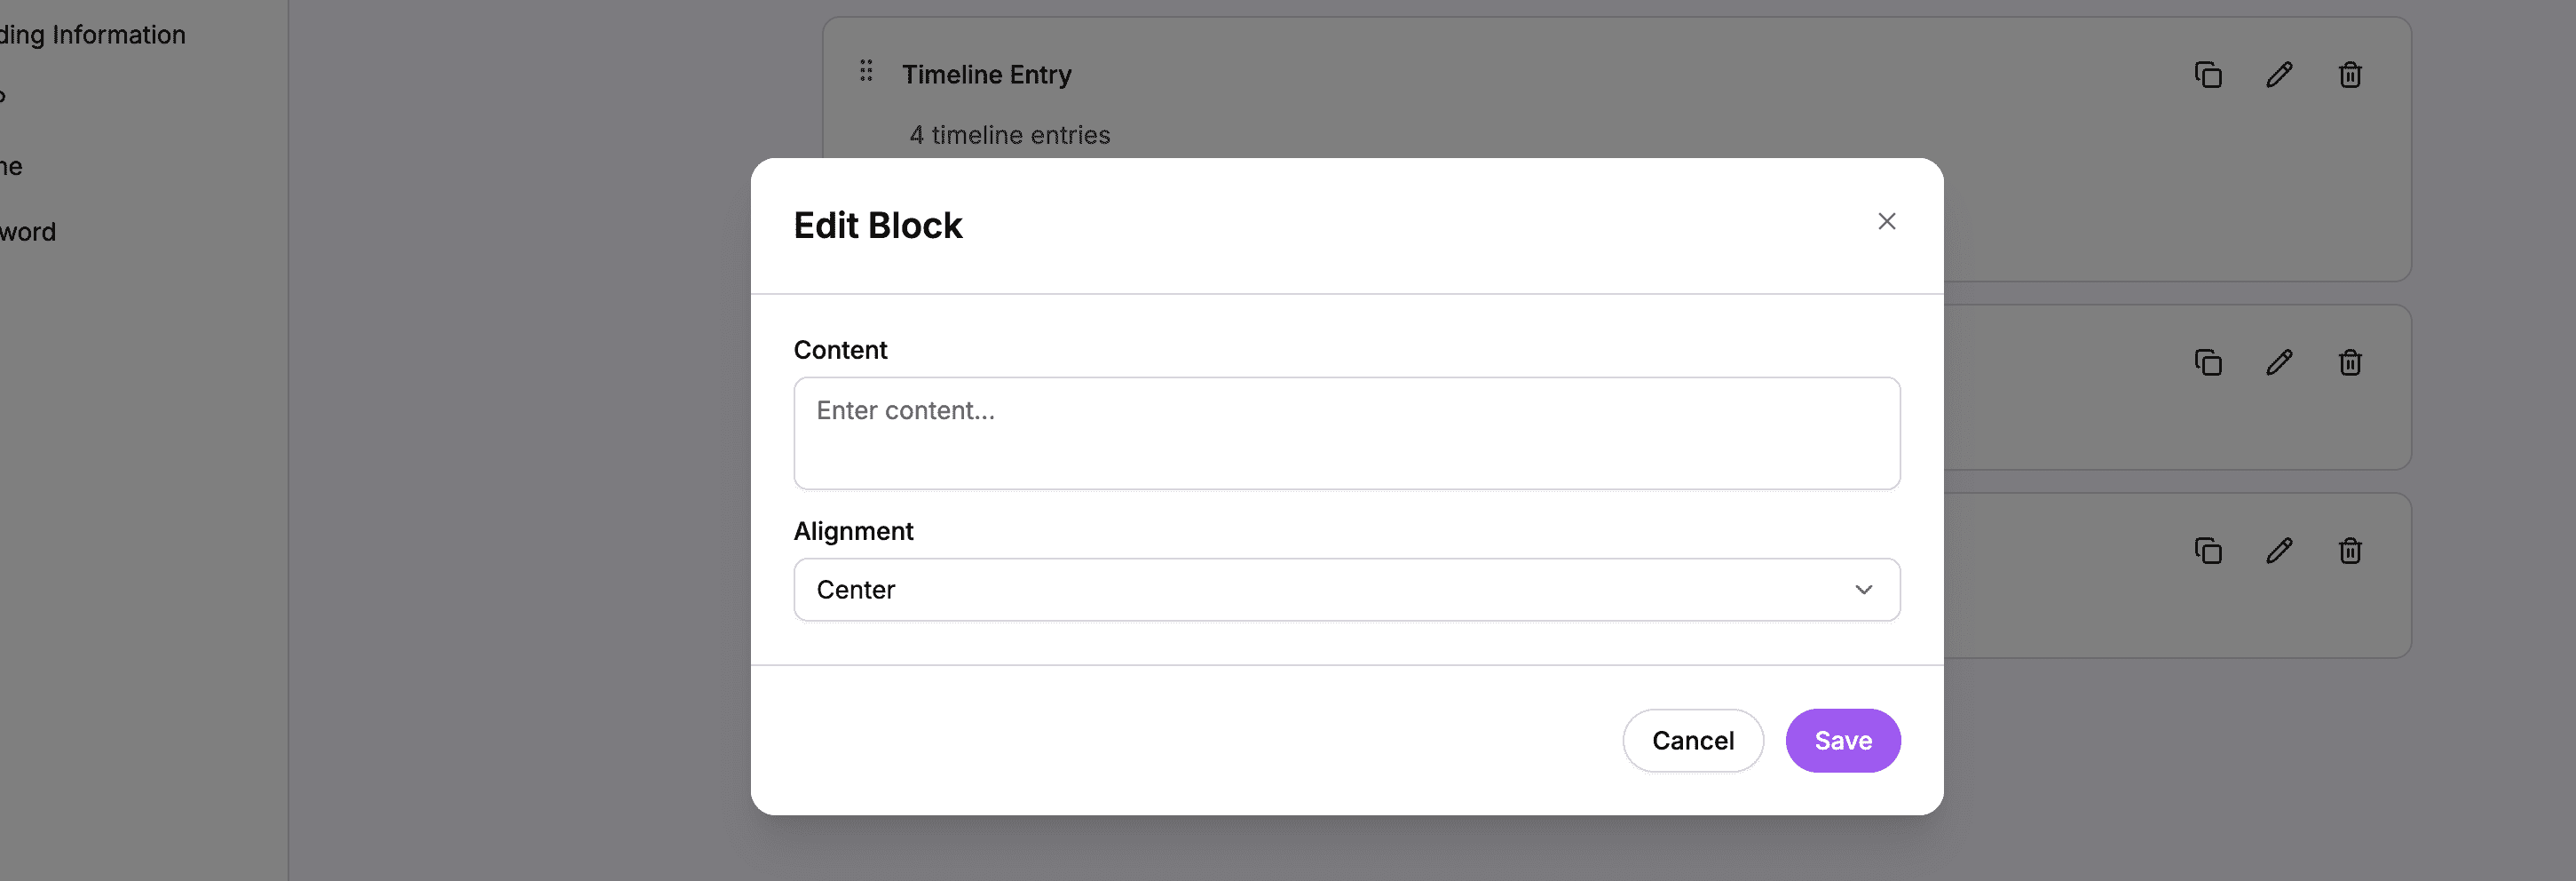 The Body Only editor – just a text area for your content
Setting Alignment
Like Title & Body blocks, Body Only blocks can also be aligned left, center, or right.
When to Use Body Only
Use Body Only blocks when:
- You need additional paragraphs under a Title & Body block
- You want text without a heading
- You’re adding captions or notes
Using Image Blocks
Image blocks add a single photo to your page. They’re different from timeline entries – they stand alone without dates or the timeline visualization.
Creating an Image Block
- Click Add Block
- Select Image
- Click the upload area or drag a photo
- Add Alt Text (a description of the image for accessibility)
- Click Save
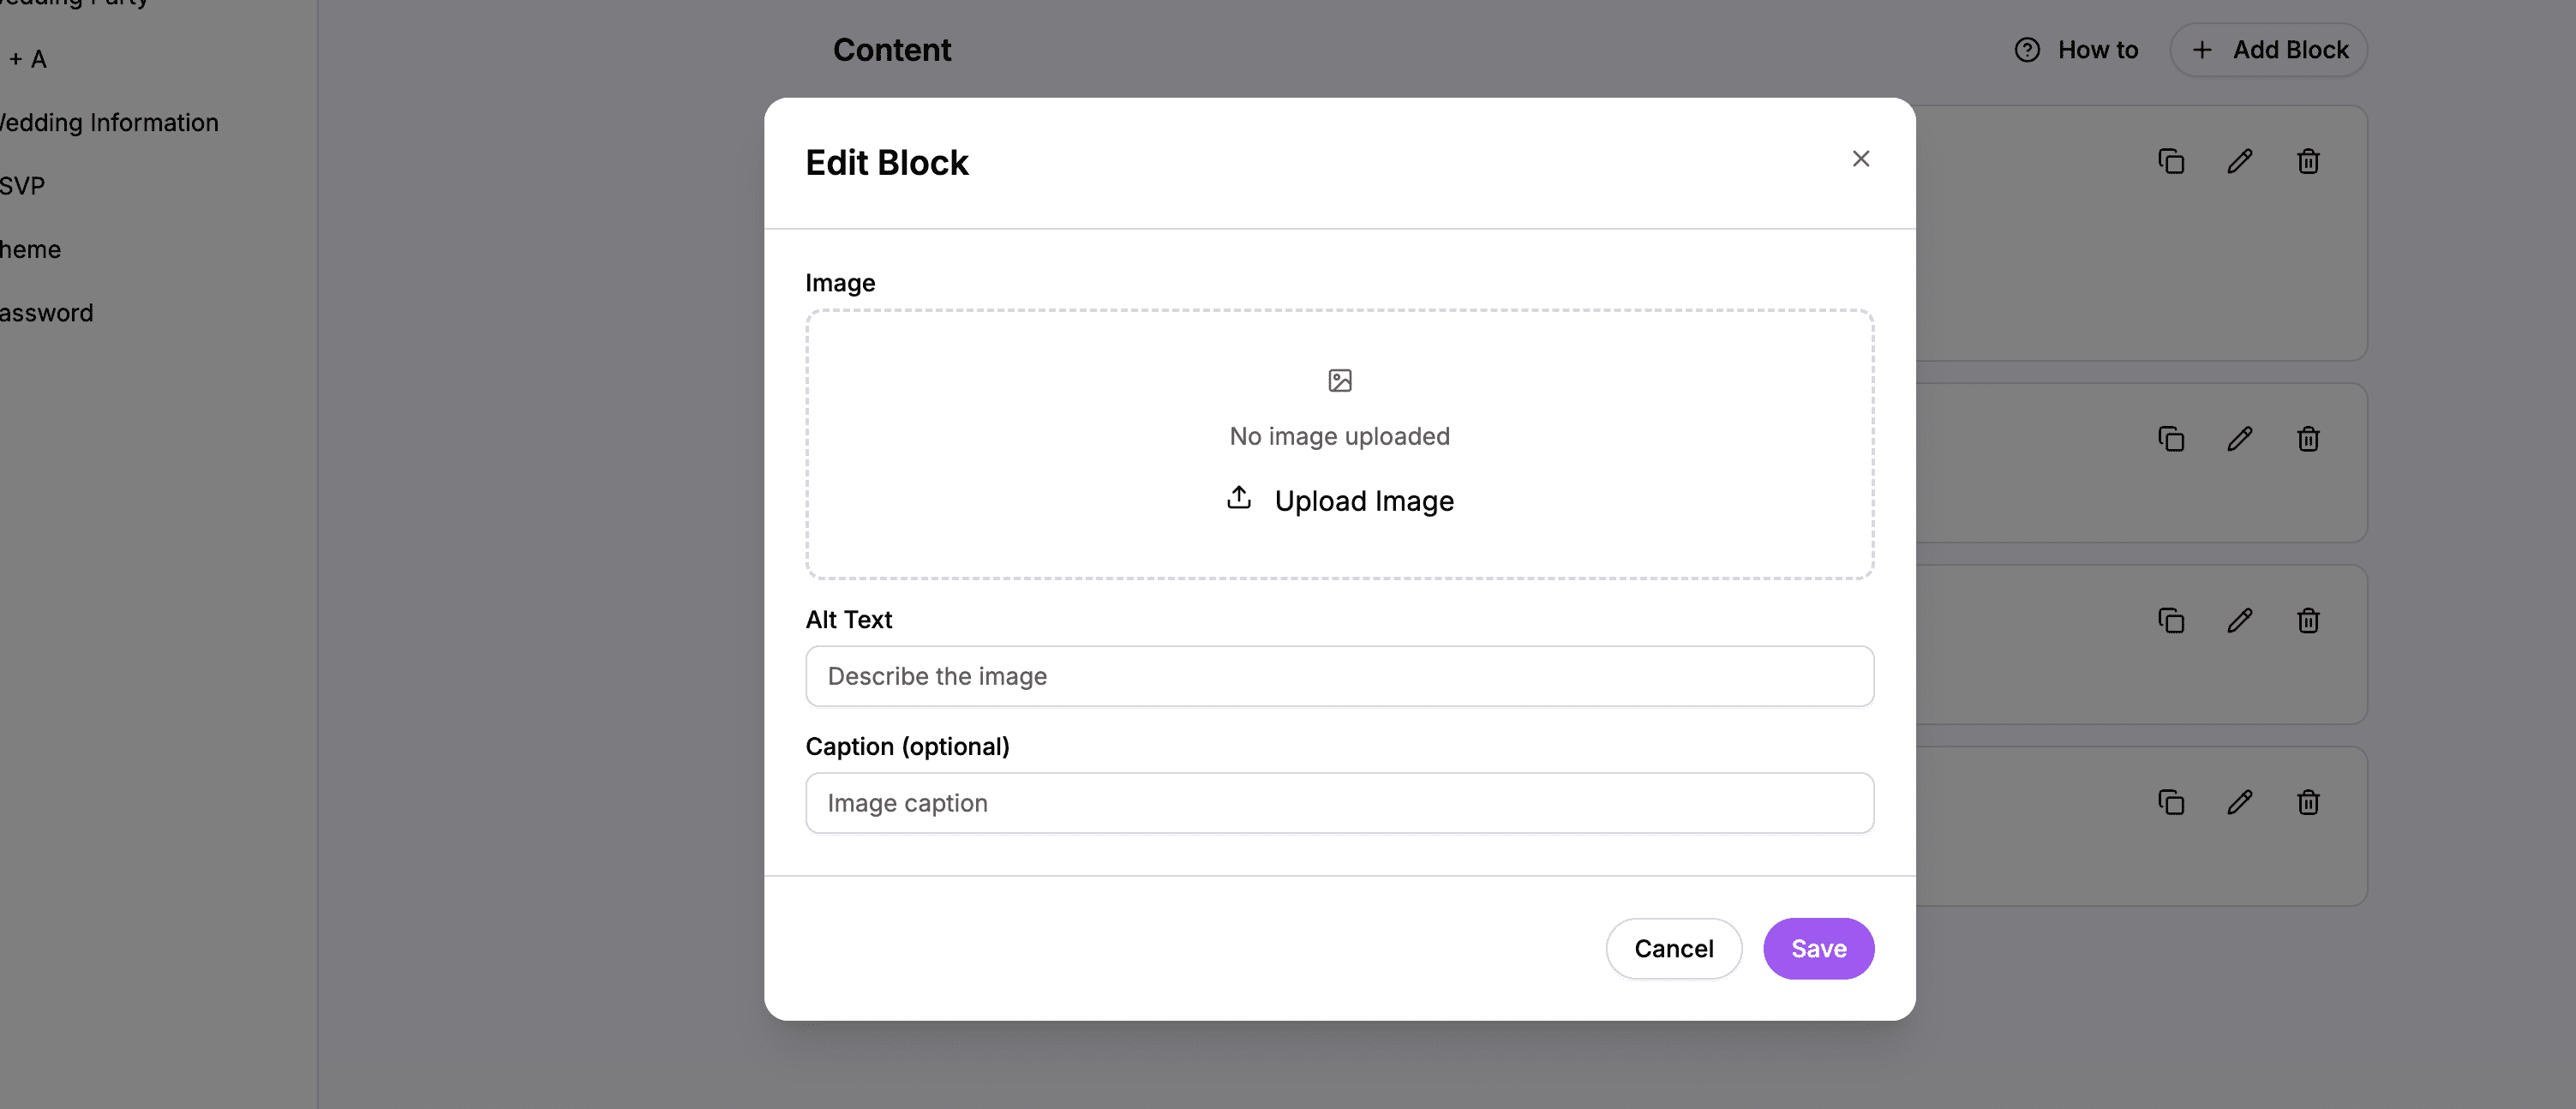 The Image block editor with photo upload and alt text
What is Alt Text?
Alt text is a text description of your image. It’s used by:
- Screen readers for visually impaired guests
- Search engines to understand your content
- Browsers when images fail to load
Write alt text that describes what’s in the photo, like “James and Sarah at Mount Kenya summit” rather than just “photo.”
When to Use Image Blocks
Use Image blocks for:
- Standalone photos that don’t fit in a timeline
- Visual breaks between text sections
- Full-width feature images
On the live website, guests can click images to view them larger in a lightbox.
Using Spacer Blocks
Spacer blocks add empty vertical space between other blocks. They’re purely visual – they don’t contain any content.
Creating a Spacer Block
- Click Add Block
- Select Spacer
- Choose a size:
- Small – 5 pixels of space
- Medium – 10 pixels of space
- Large – 20 pixels of space
- Click Save
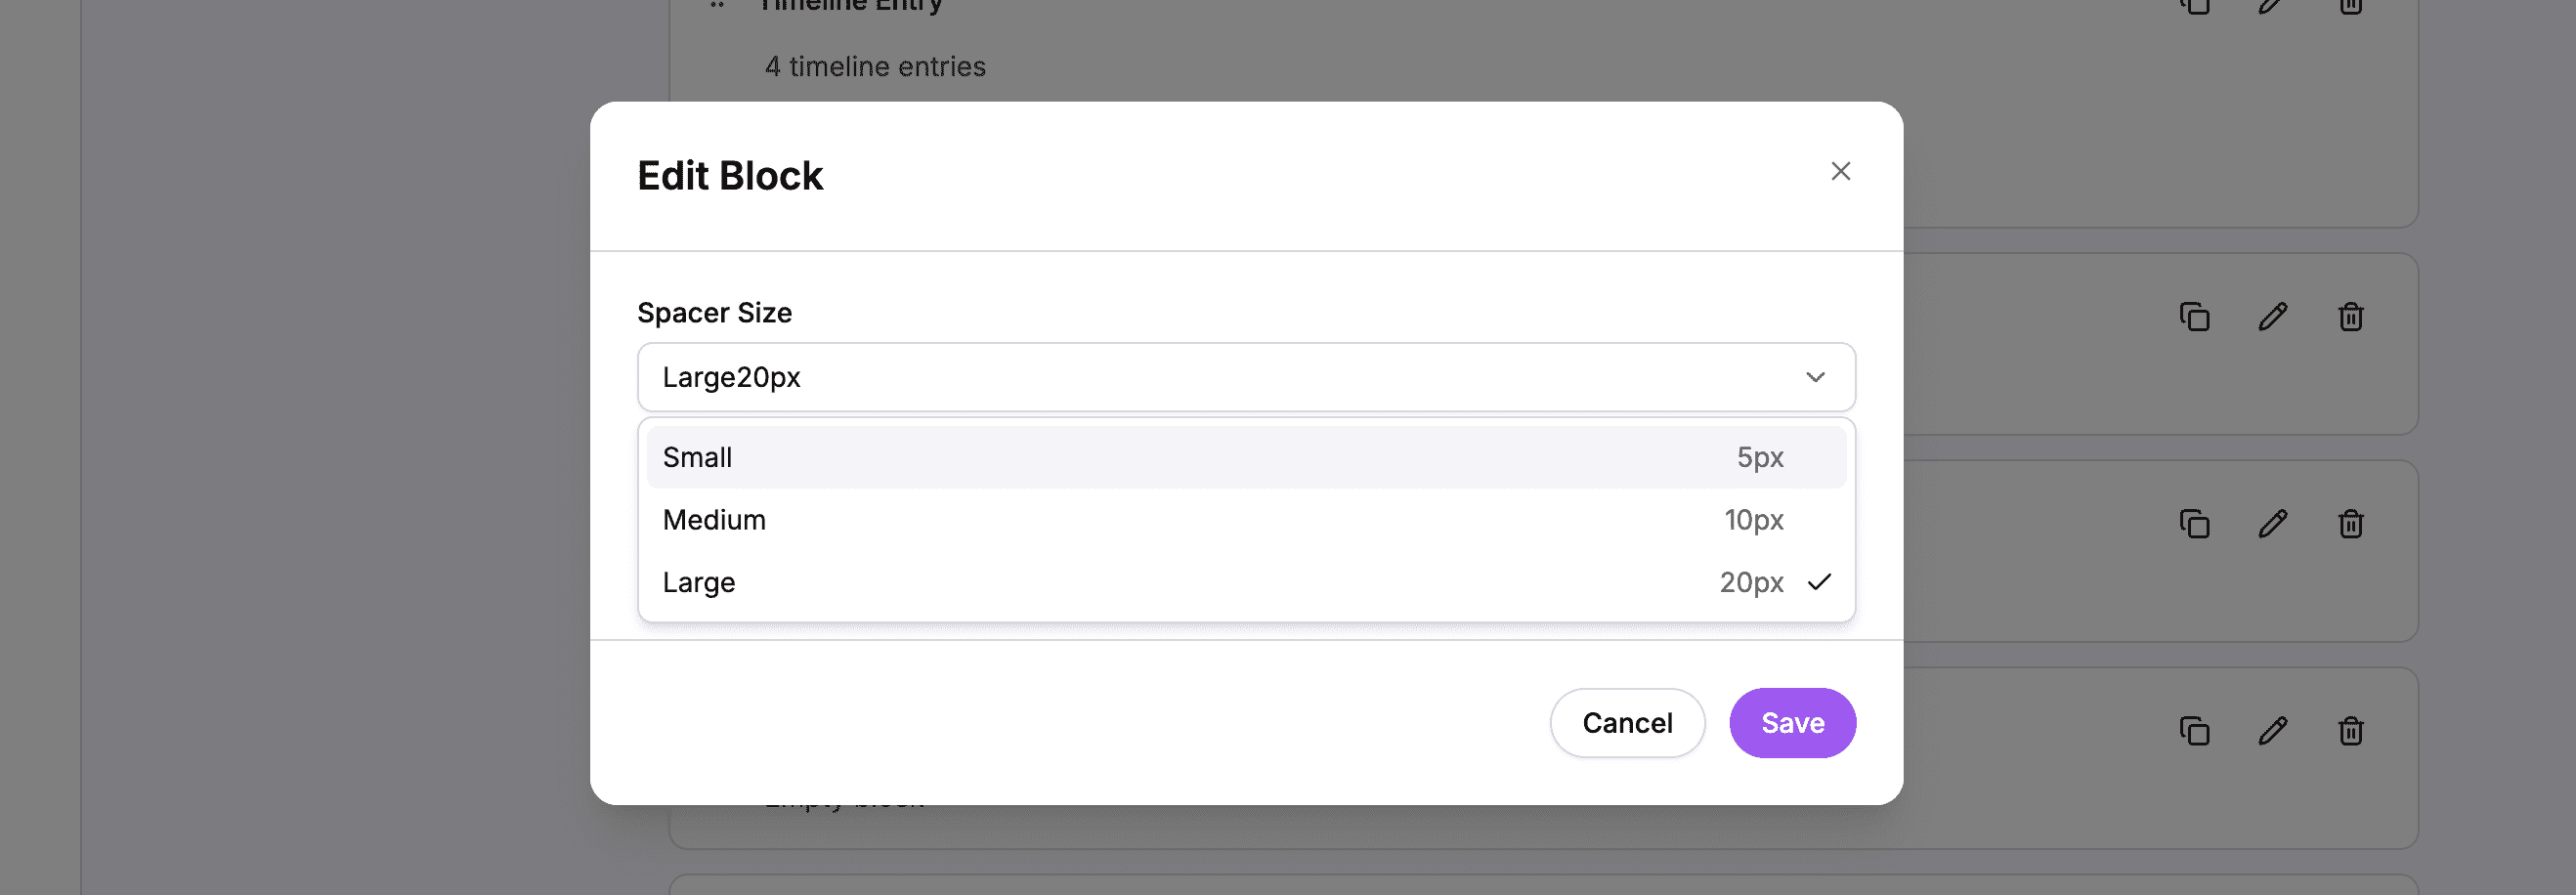 Choose the spacer size based on how much breathing room you want
When to Use Spacers
Use Spacer blocks to:
- Separate sections – Add visual breathing room between major sections
- Create rhythm – Balance dense content with empty space
- Improve readability – Prevent content from feeling cramped
Reordering and Organizing Blocks
Once you have multiple blocks on your page, you can reorder them to change the flow of your story.
How to Reorder Blocks
- Find the block you want to move
- Look for the drag handle on the left side of the block card
- Click and hold the drag handle
- Drag the block up or down to a new position
- Release to drop it in place
- The new order saves automatically
 Each block card has a drag handle on the left for reordering
 Drag blocks to rearrange the order of your content
Tips for Organizing Content
- Start with a welcome – A Title & Body block introducing your story
- Use the timeline for chronological events – Your relationship milestones in order
- Add section breaks – Spacers and Title blocks to organize themes
- End with a conclusion – A final message looking forward to the wedding
Editing and Deleting Blocks
Every block can be edited or deleted after creation.
How to Edit a Block
- Find the block you want to edit
- Click the Edit button (pencil icon) on the block card
- The editor opens with the current content
- Make your changes
- Click Save
How to Delete a Block
- Find the block you want to delete
- Click the Delete button (trash icon) on the block card
- Confirm the deletion when prompted
- The block is permanently removed
Warning: Deleting a block cannot be undone. Make sure you want to remove it before confirming.
Duplicating Blocks
If you want to create a similar block, you can duplicate an existing one instead of starting from scratch.
How to Duplicate a Block
- Find the block you want to copy
- Click the Duplicate button on the block card
- A copy of the block is created immediately below
- Edit the duplicated block as needed
This is especially useful when creating multiple similar entries or sections.
Preview Your Changes
All changes save automatically. To see how your Our Story page looks to guests:
- Click the View Website button in the top navigation
- Navigate to the Our Story page
- Or visit your wedding website URL directly and click “Our Story” in the navigation
Example Our Story Page Structure
Here’s an example of how you might structure your Our Story page:
- Title & Body – “Our Love Story” with a brief introduction
- Spacer (small)
- Timeline – Multiple entries from “How We Met” to “The Proposal”
- Spacer (large)
- Title & Body – “What’s Next” with a message about the wedding
- Image – A recent photo of you both
This creates a clear, engaging story that guides guests through your journey.
Summary
The Our Story page editor gives you powerful tools to share your journey:
| Block Type | Use For |
|---|---|
| Timeline | Chronological milestones with photos and dates |
| Title & Body | Section headers and introductions |
| Body Only | Additional paragraphs without headings |
| Image | Standalone photos |
| Spacer | Visual breathing room between sections |
Mix and match these blocks, reorder them as needed, and create a story that’s uniquely yours.