How to Set Up Your Registry Page
Learn how to add registry links to your wedding website. Guide guests to your gift registries, honeymoon funds, or external store pages with easy-to-click buttons.

How to Set Up Your Registry Page
Your Registry page helps guests find where to purchase wedding gifts or contribute to your funds. Instead of guests asking “Where are you registered?” you can provide clear links directly on your website. This tutorial shows you how to set up registry links, add descriptions, and organize your registry page.
What the Registry Page Shows to Guests
When guests visit your Registry page, they can see:
- Registry links – Clickable buttons that take guests to external stores or registries
- Descriptions – Explanatory text about each registry or your gift preferences
- Section headers – Titles that organize different gift options
The page makes it easy for guests to find exactly where to shop or contribute.
Accessing the Registry Editor
To edit your Registry page:
- Log in to your Harusi Hub account
- From your dashboard, look at the left sidebar
- Click on Website to expand the menu
- Click on Registry
You’ll see the Registry page editor with options to add links and content.
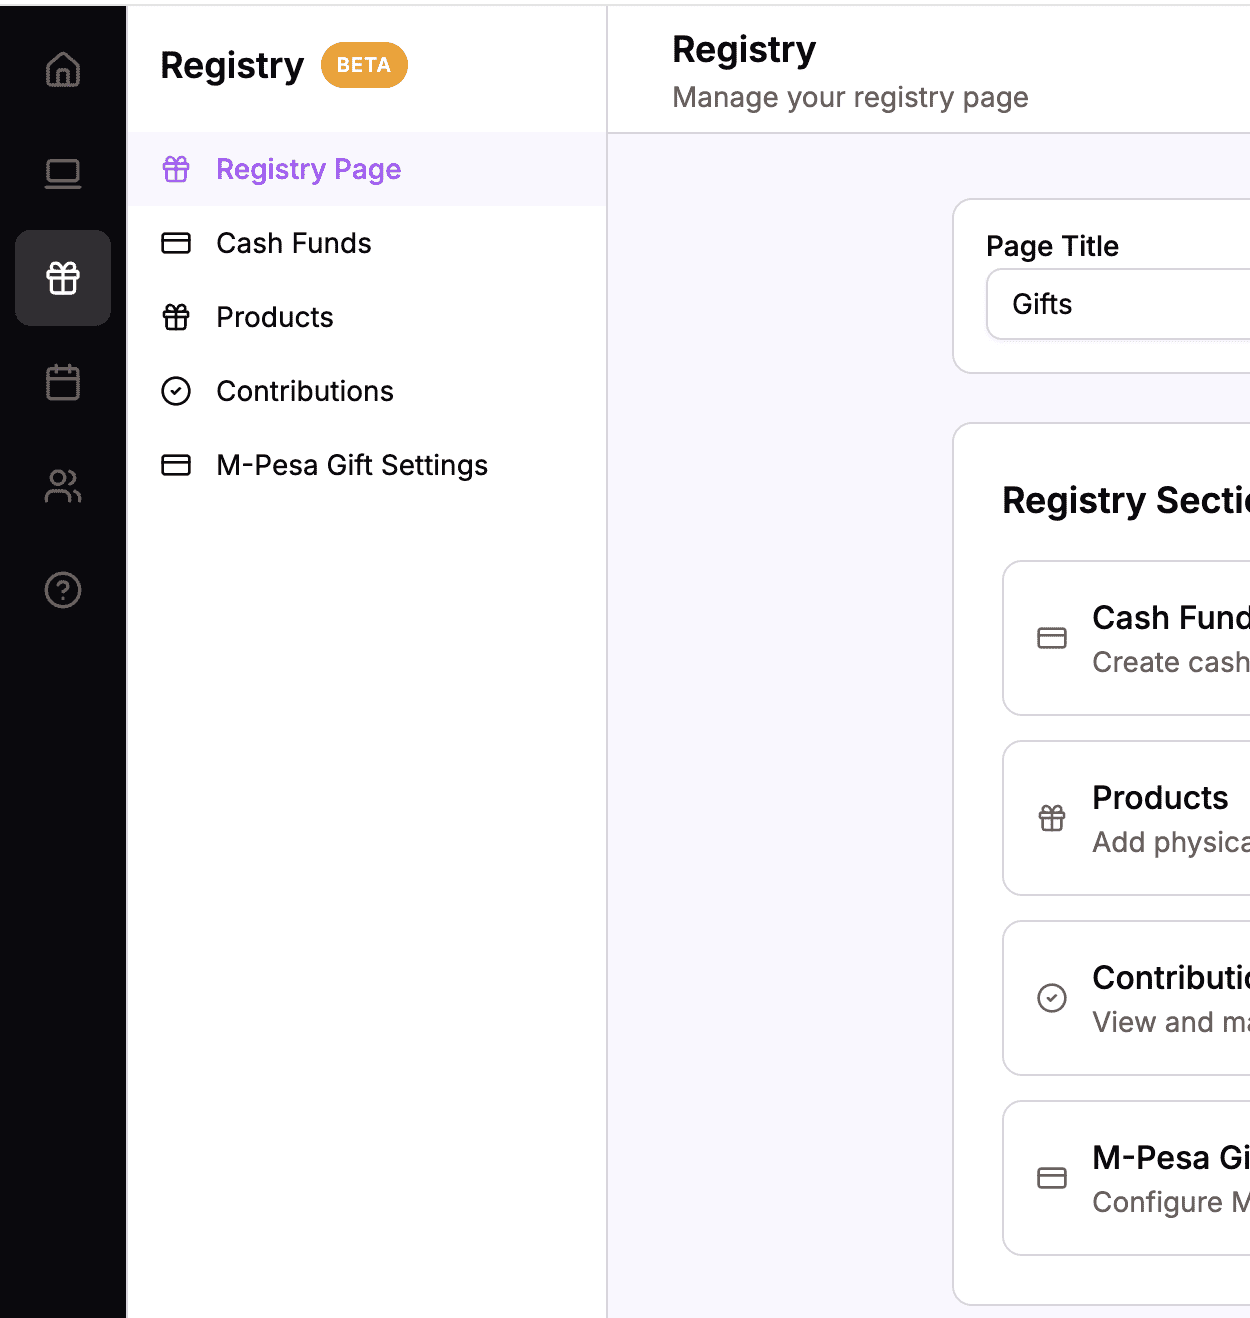 The sidebar navigation with Website > Registry highlighted
Understanding Registry Page Blocks
The Registry page uses these content block types:
| Block Type | What It Contains | Best For |
|---|---|---|
| Link | A URL, button label, and optional description | Links to external registries |
| Title & Body | A heading and text | Section headers and introductions |
| Body Only | Just paragraph text | Additional explanatory text |
| Spacer | Empty vertical space | Separating sections |
The Link block is the main feature – it creates clickable buttons that take guests to your registries.
Setting the Page Title
Before adding blocks, you can customize the page title.
How to Edit the Page Title
- Find the Page Title field at the top of the editor
- Enter your preferred title (default is “Registry”)
- The title saves automatically
You might use titles like:
- “Registry”
- “Gift Registry”
- “Gifts”
- “Our Wishlist”
 Customize the page title to match your preference
Adding a Link Block
Link blocks are the core of your Registry page. Each link creates a button that guests can click to visit an external registry or store.
How to Add a Link
- Click the Add Block button
- Select Link from the options
- The Link editor opens
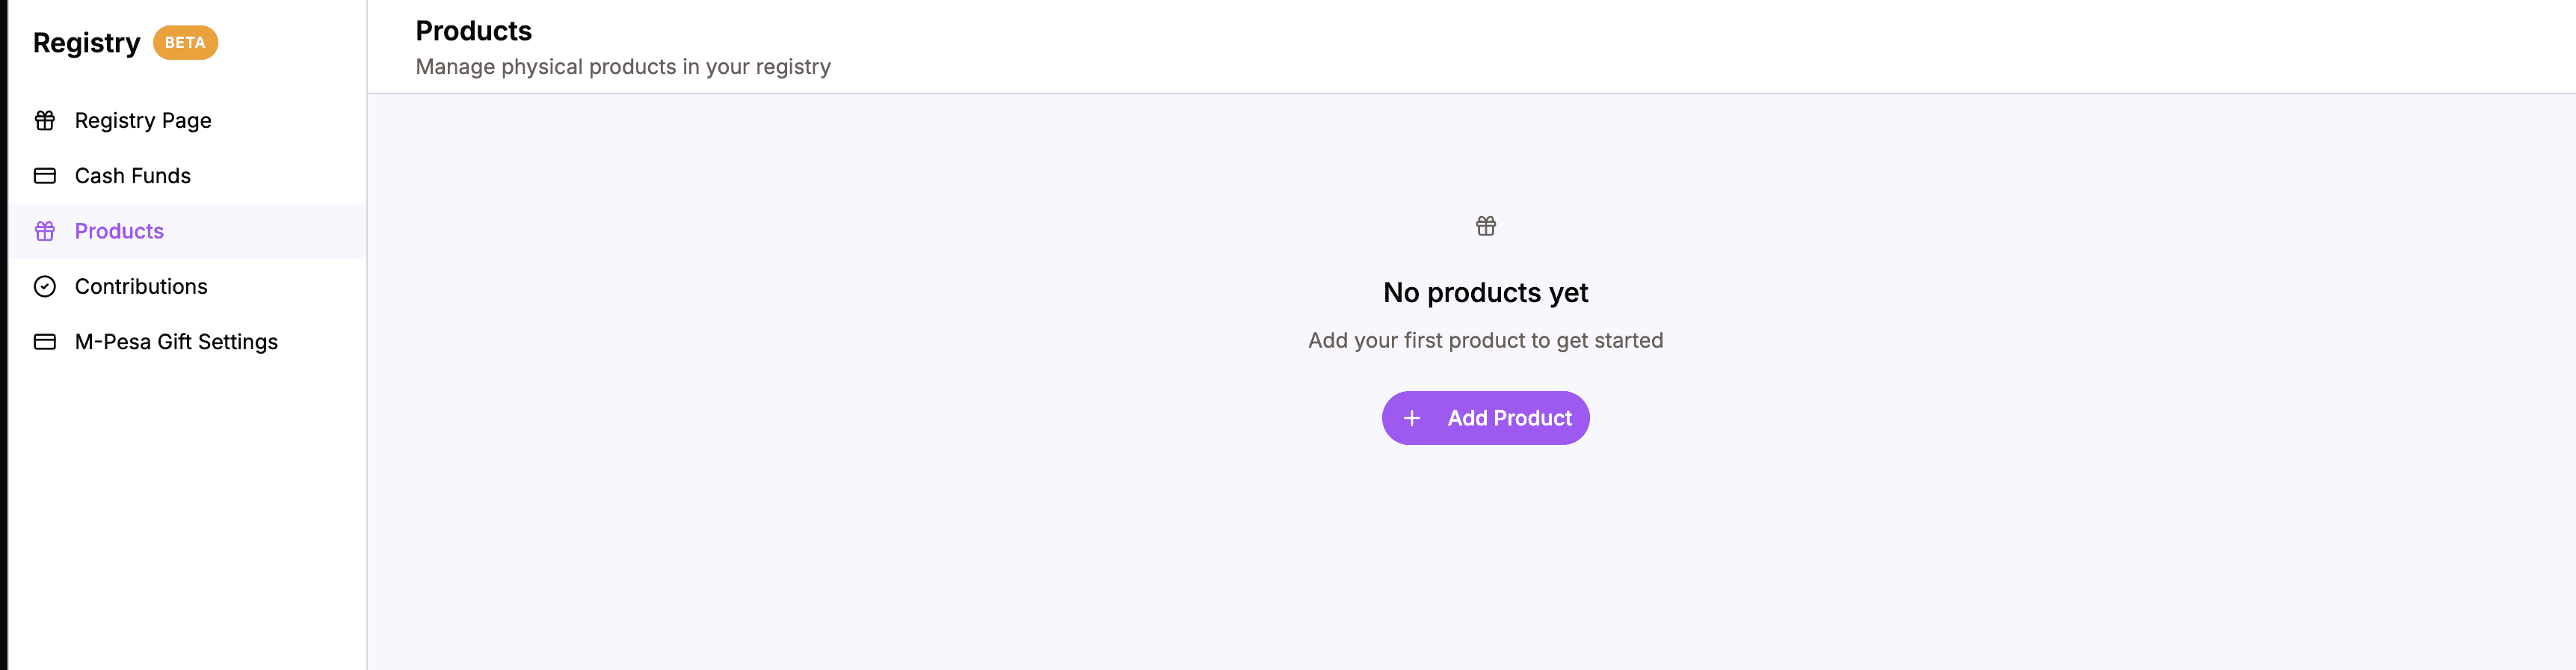 Choose Link to add a registry button
The Link Editor
The Link editor has three fields:
- Link URL – The full web address of your registry
- Button Label – The text that appears on the button
- Description – Optional text explaining this registry
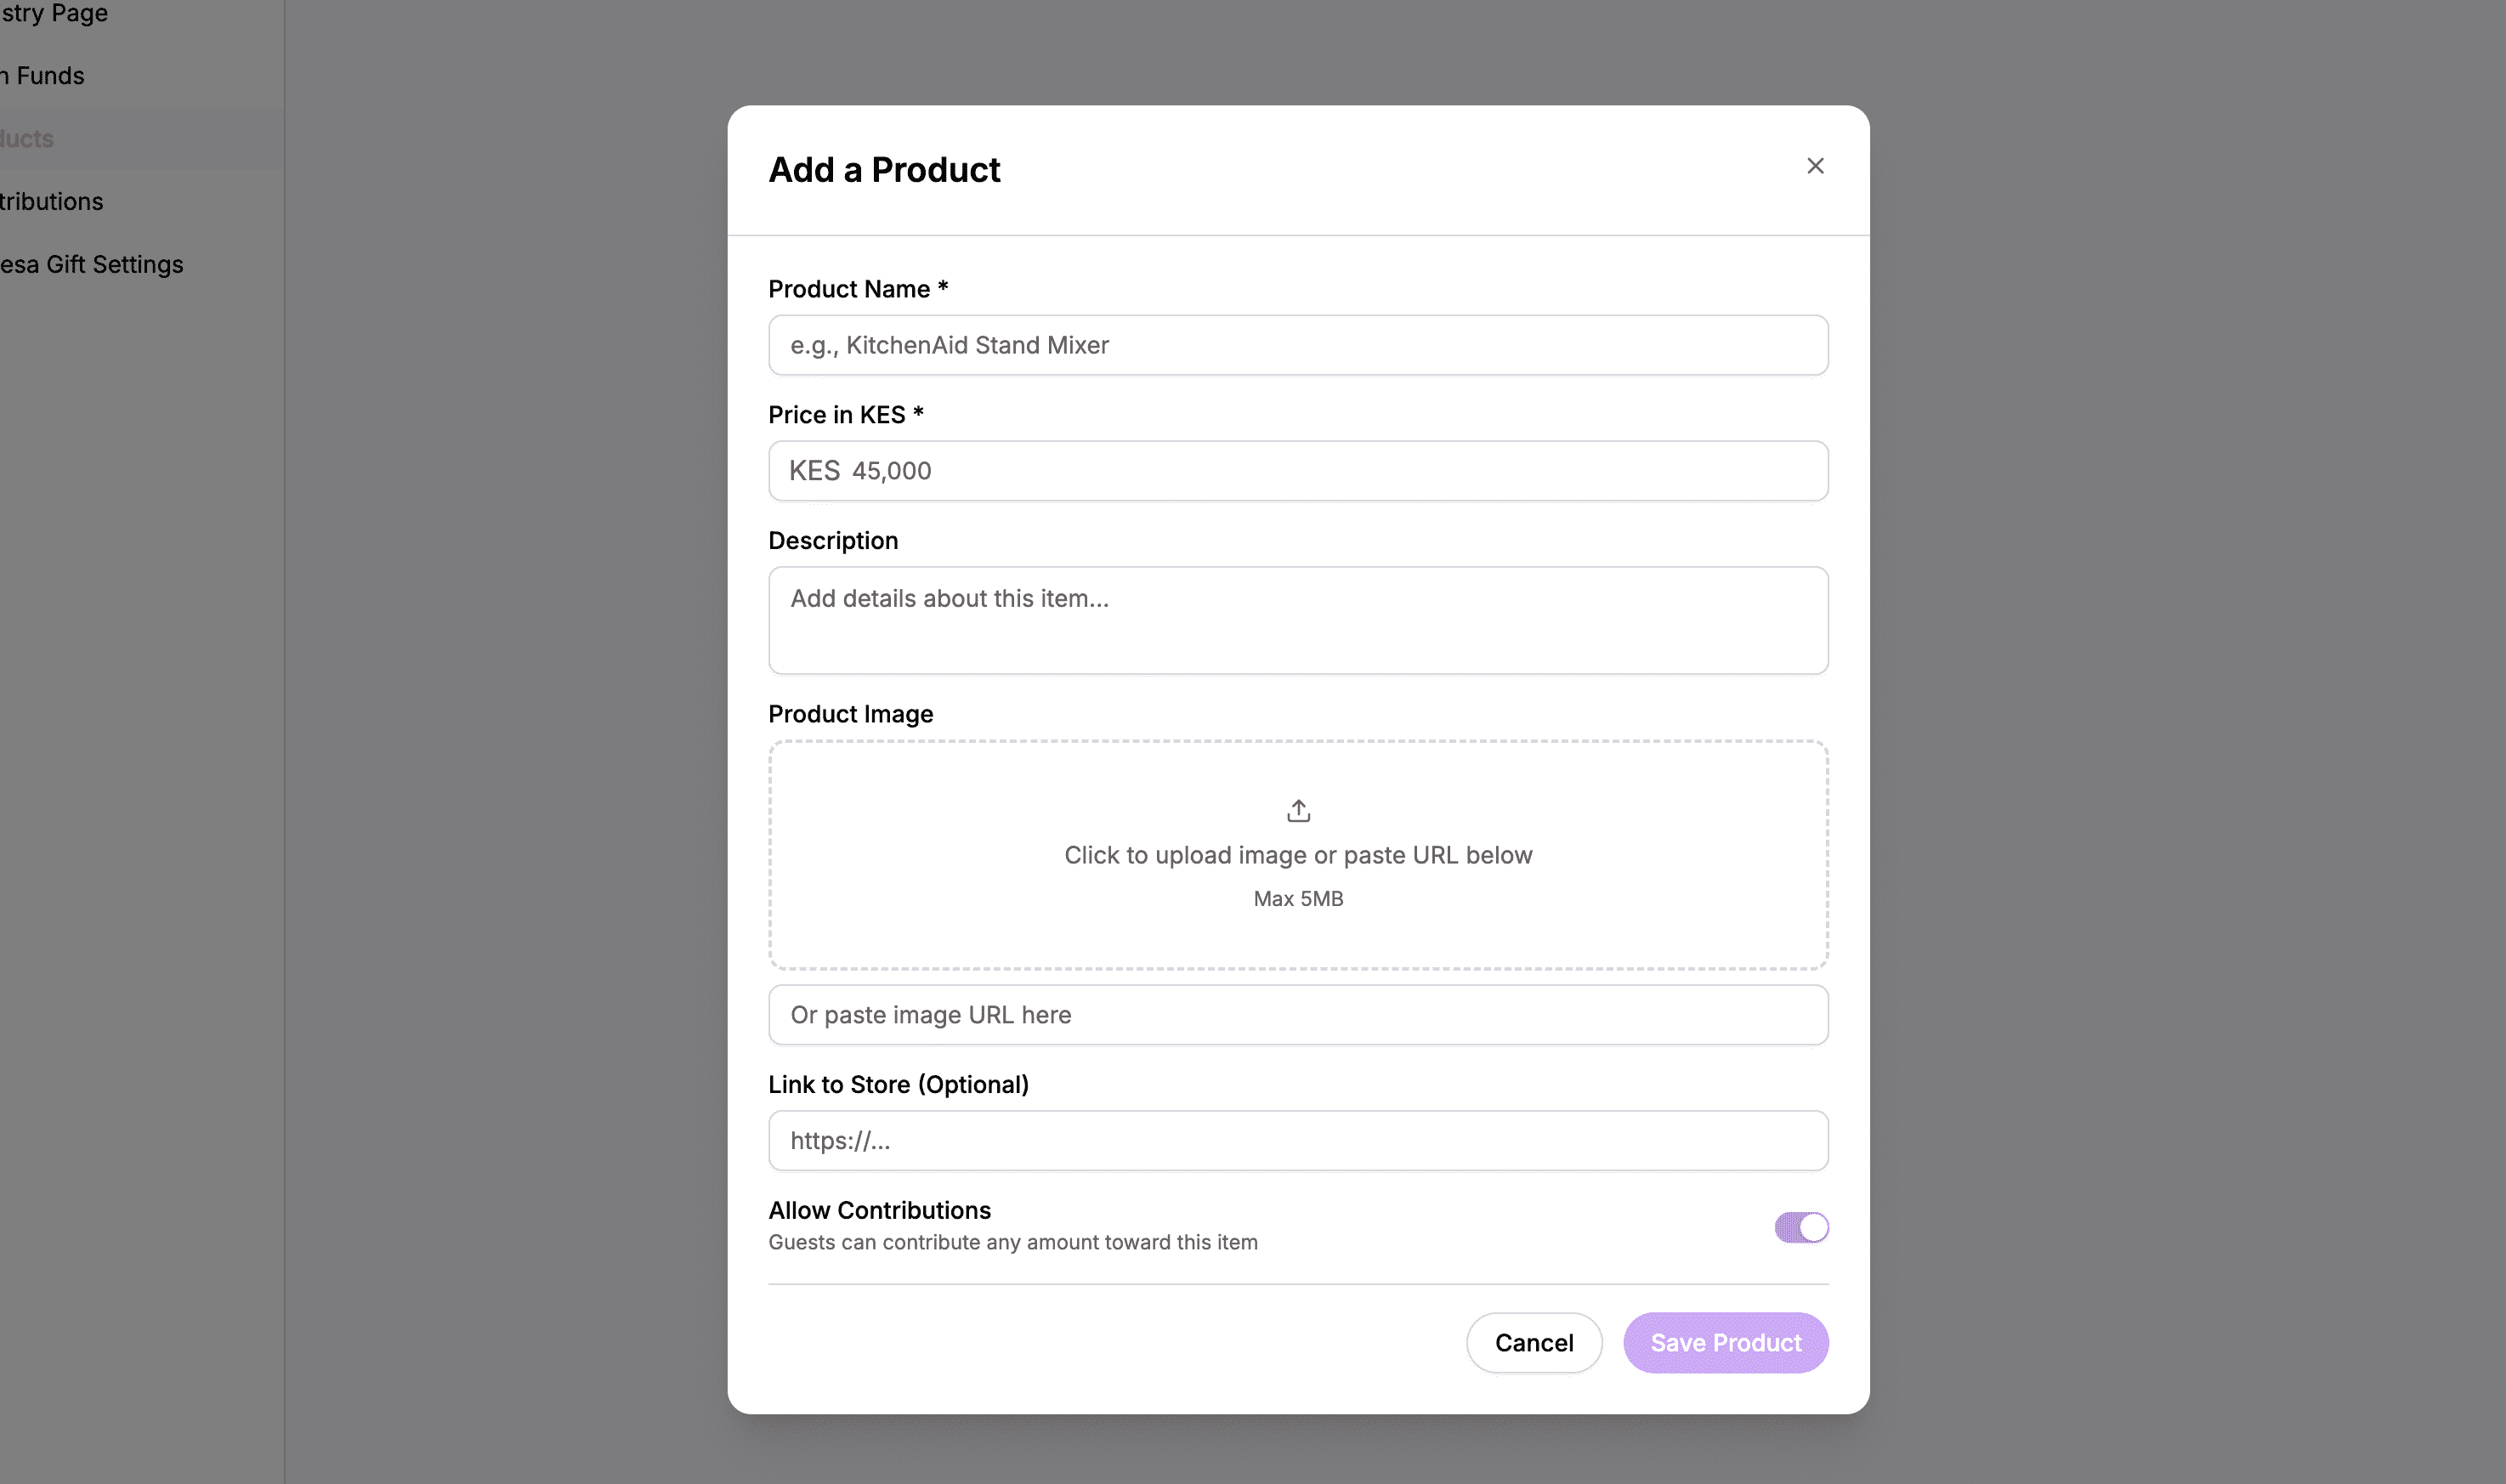 Enter the URL, button label, and optional description
Entering the Link URL
In the Link URL field, paste the full address of your registry:
- Go to your registry on the store’s website
- Copy the URL from your browser’s address bar
- Paste it into the Link URL field
Make sure to include the full URL including https://:
- ✅
https://www.jumia.co.ke/wishlist/abc123 - ❌
www.jumia.co.ke/wishlist/abc123 - ❌
jumia.co.ke/wishlist/abc123
Setting the Button Label
The button label is what guests see and click. Keep it clear and descriptive:
- “View Our Jumia Registry”
- “Shop on Carrefour”
- “Contribute to Honeymoon Fund”
- “Our Amazon Wishlist”
Adding a Description
The description appears above the button, giving guests context:
- Click on the Description field
- Write a brief explanation
- This text appears above the button on the live page
 Add a description to explain what guests will find
Example Descriptions
For a store registry:
“We’ve registered at Jumia for household items we need to start our home together.”
For a honeymoon fund:
“Instead of physical gifts, we’d love contributions toward our honeymoon adventures.”
For a charity:
“If you’d like to give, consider making a donation to [Charity Name] in our honor.”
Saving the Link
After entering all details:
- Click Save
- The link appears in your block list
Adding Multiple Registries
Most couples have more than one registry. Add a Link block for each place you’re registered.
Example Registry Links
You might add links for:
- Jumia – Electronics and home goods
- Carrefour – Kitchen and household items
- Kilimall – Various products
- Amazon – International registry
- Honeymoon fund – Travel contributions
- Charity donations – Giving back
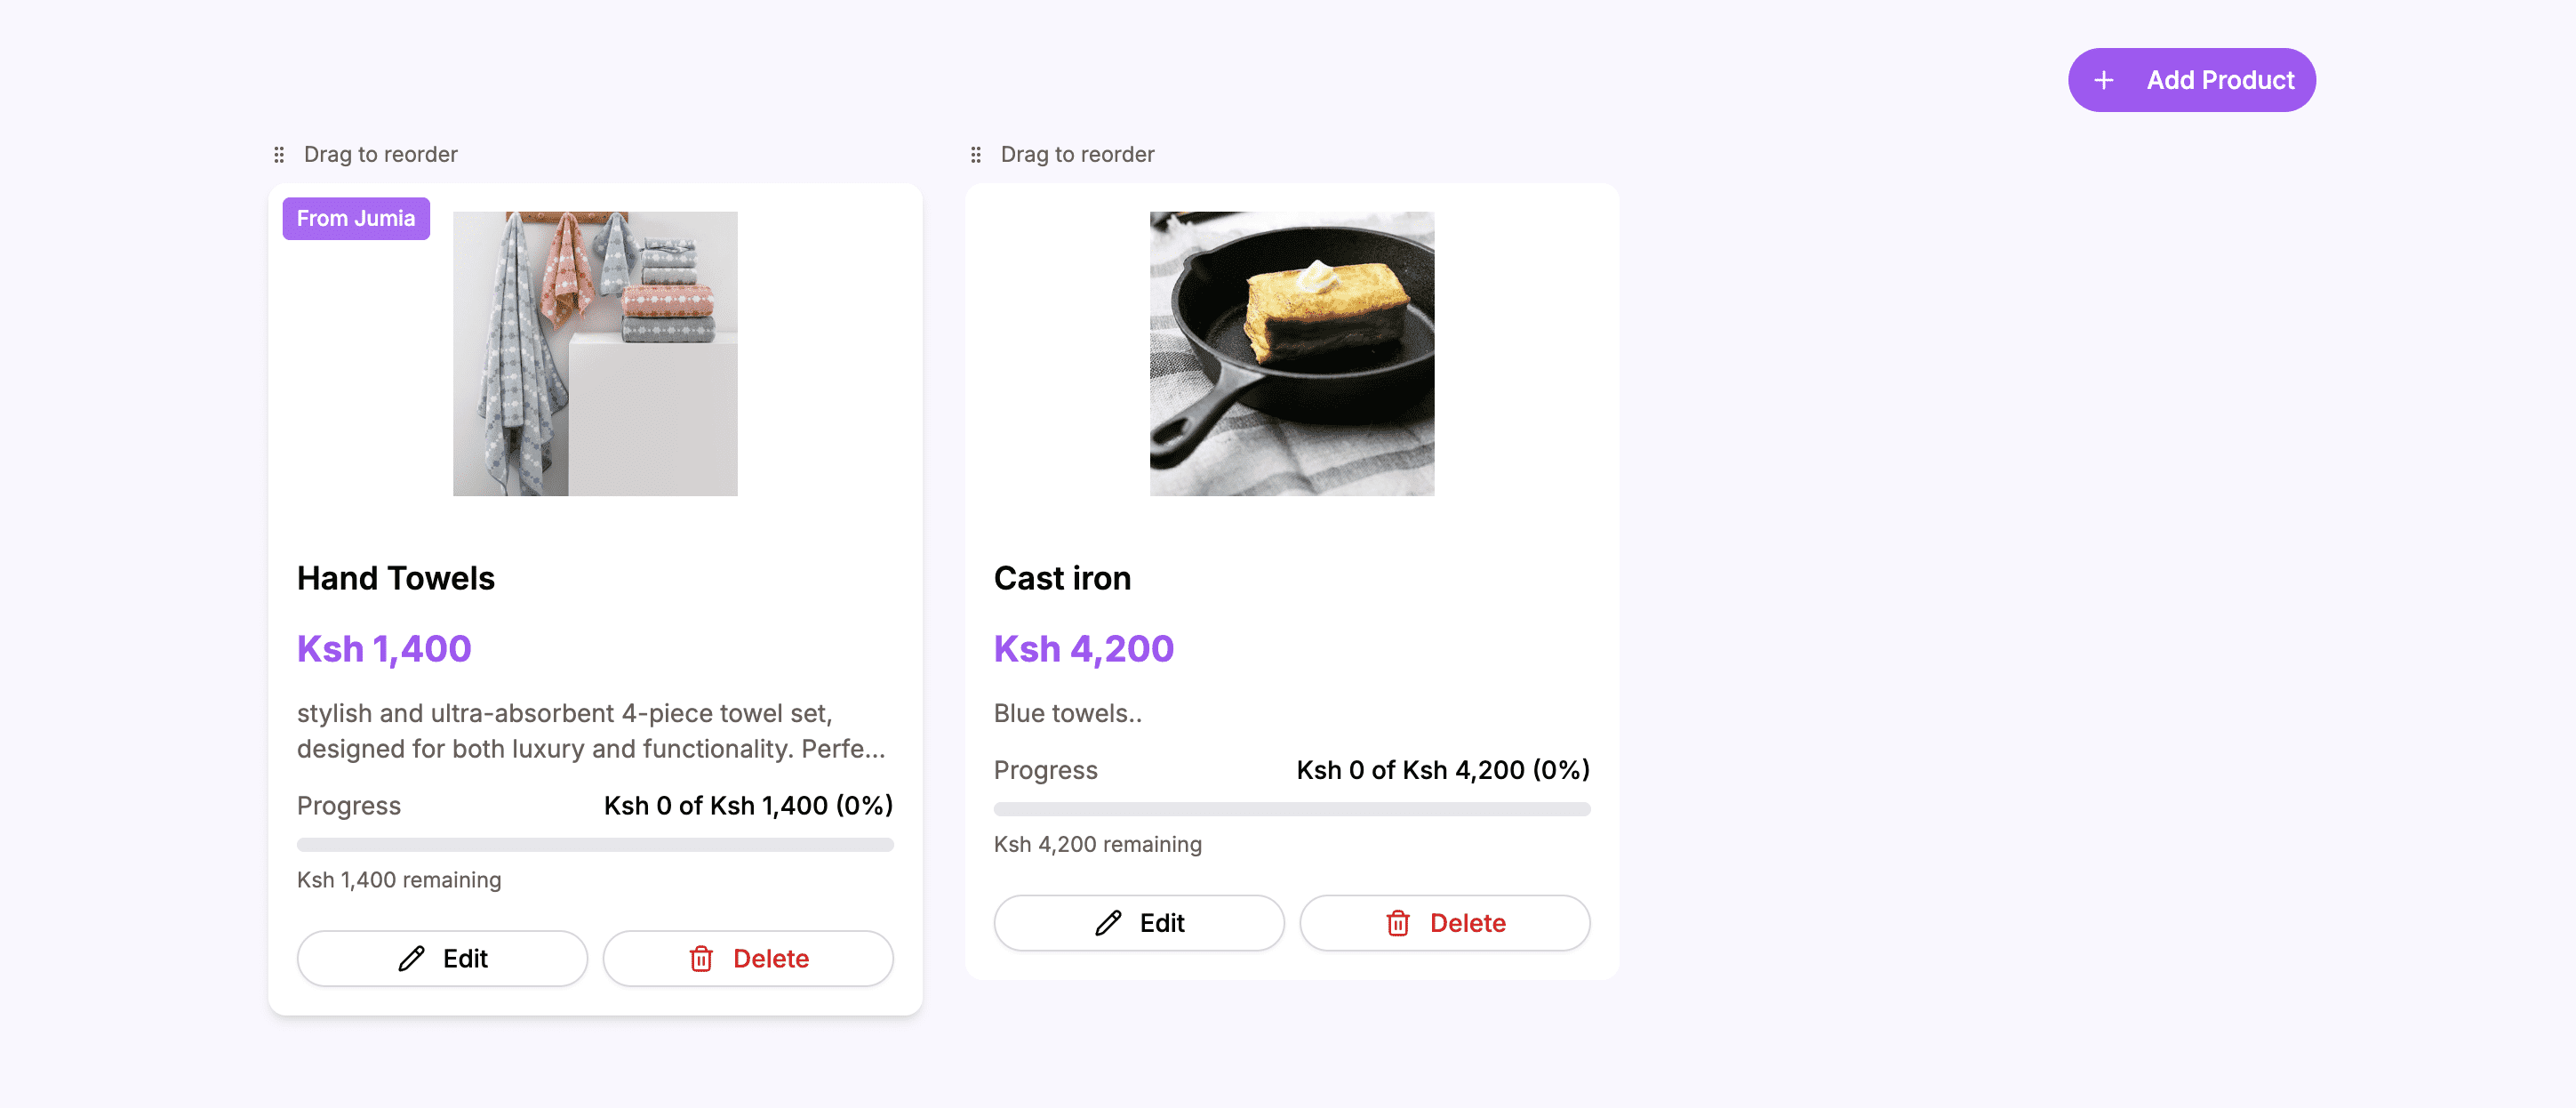 Add as many registry links as you need
Reordering Links
To change the order of your registry links:
- Find the block you want to move
- Grab the drag handle
- Drag to a new position
- Release to drop
Put your preferred registries at the top.
How to Find Your Registry URL
For most stores:
- Log in to the store’s website
- Go to your registry/wishlist
- Look for a “Share” button or option
- Copy the share link provided
If there’s no share button:
- Make sure you’re viewing your public registry (not the edit view)
- Copy the URL from your browser’s address bar
Tips for Registry Links
- Test your links – Click them yourself to make sure they work
- Use public links – Don’t use links that require login
- Check mobile – Make sure links work on phones too
- Update if needed – If you change registries, update the links
Using Spacers
Spacer blocks add visual separation between sections.
How to Add a Spacer
- Click Add Block
- Select Spacer
- Choose a size (Small, Medium, or Large)
- Click Save
Use spacers between different categories of registries.
Block Management
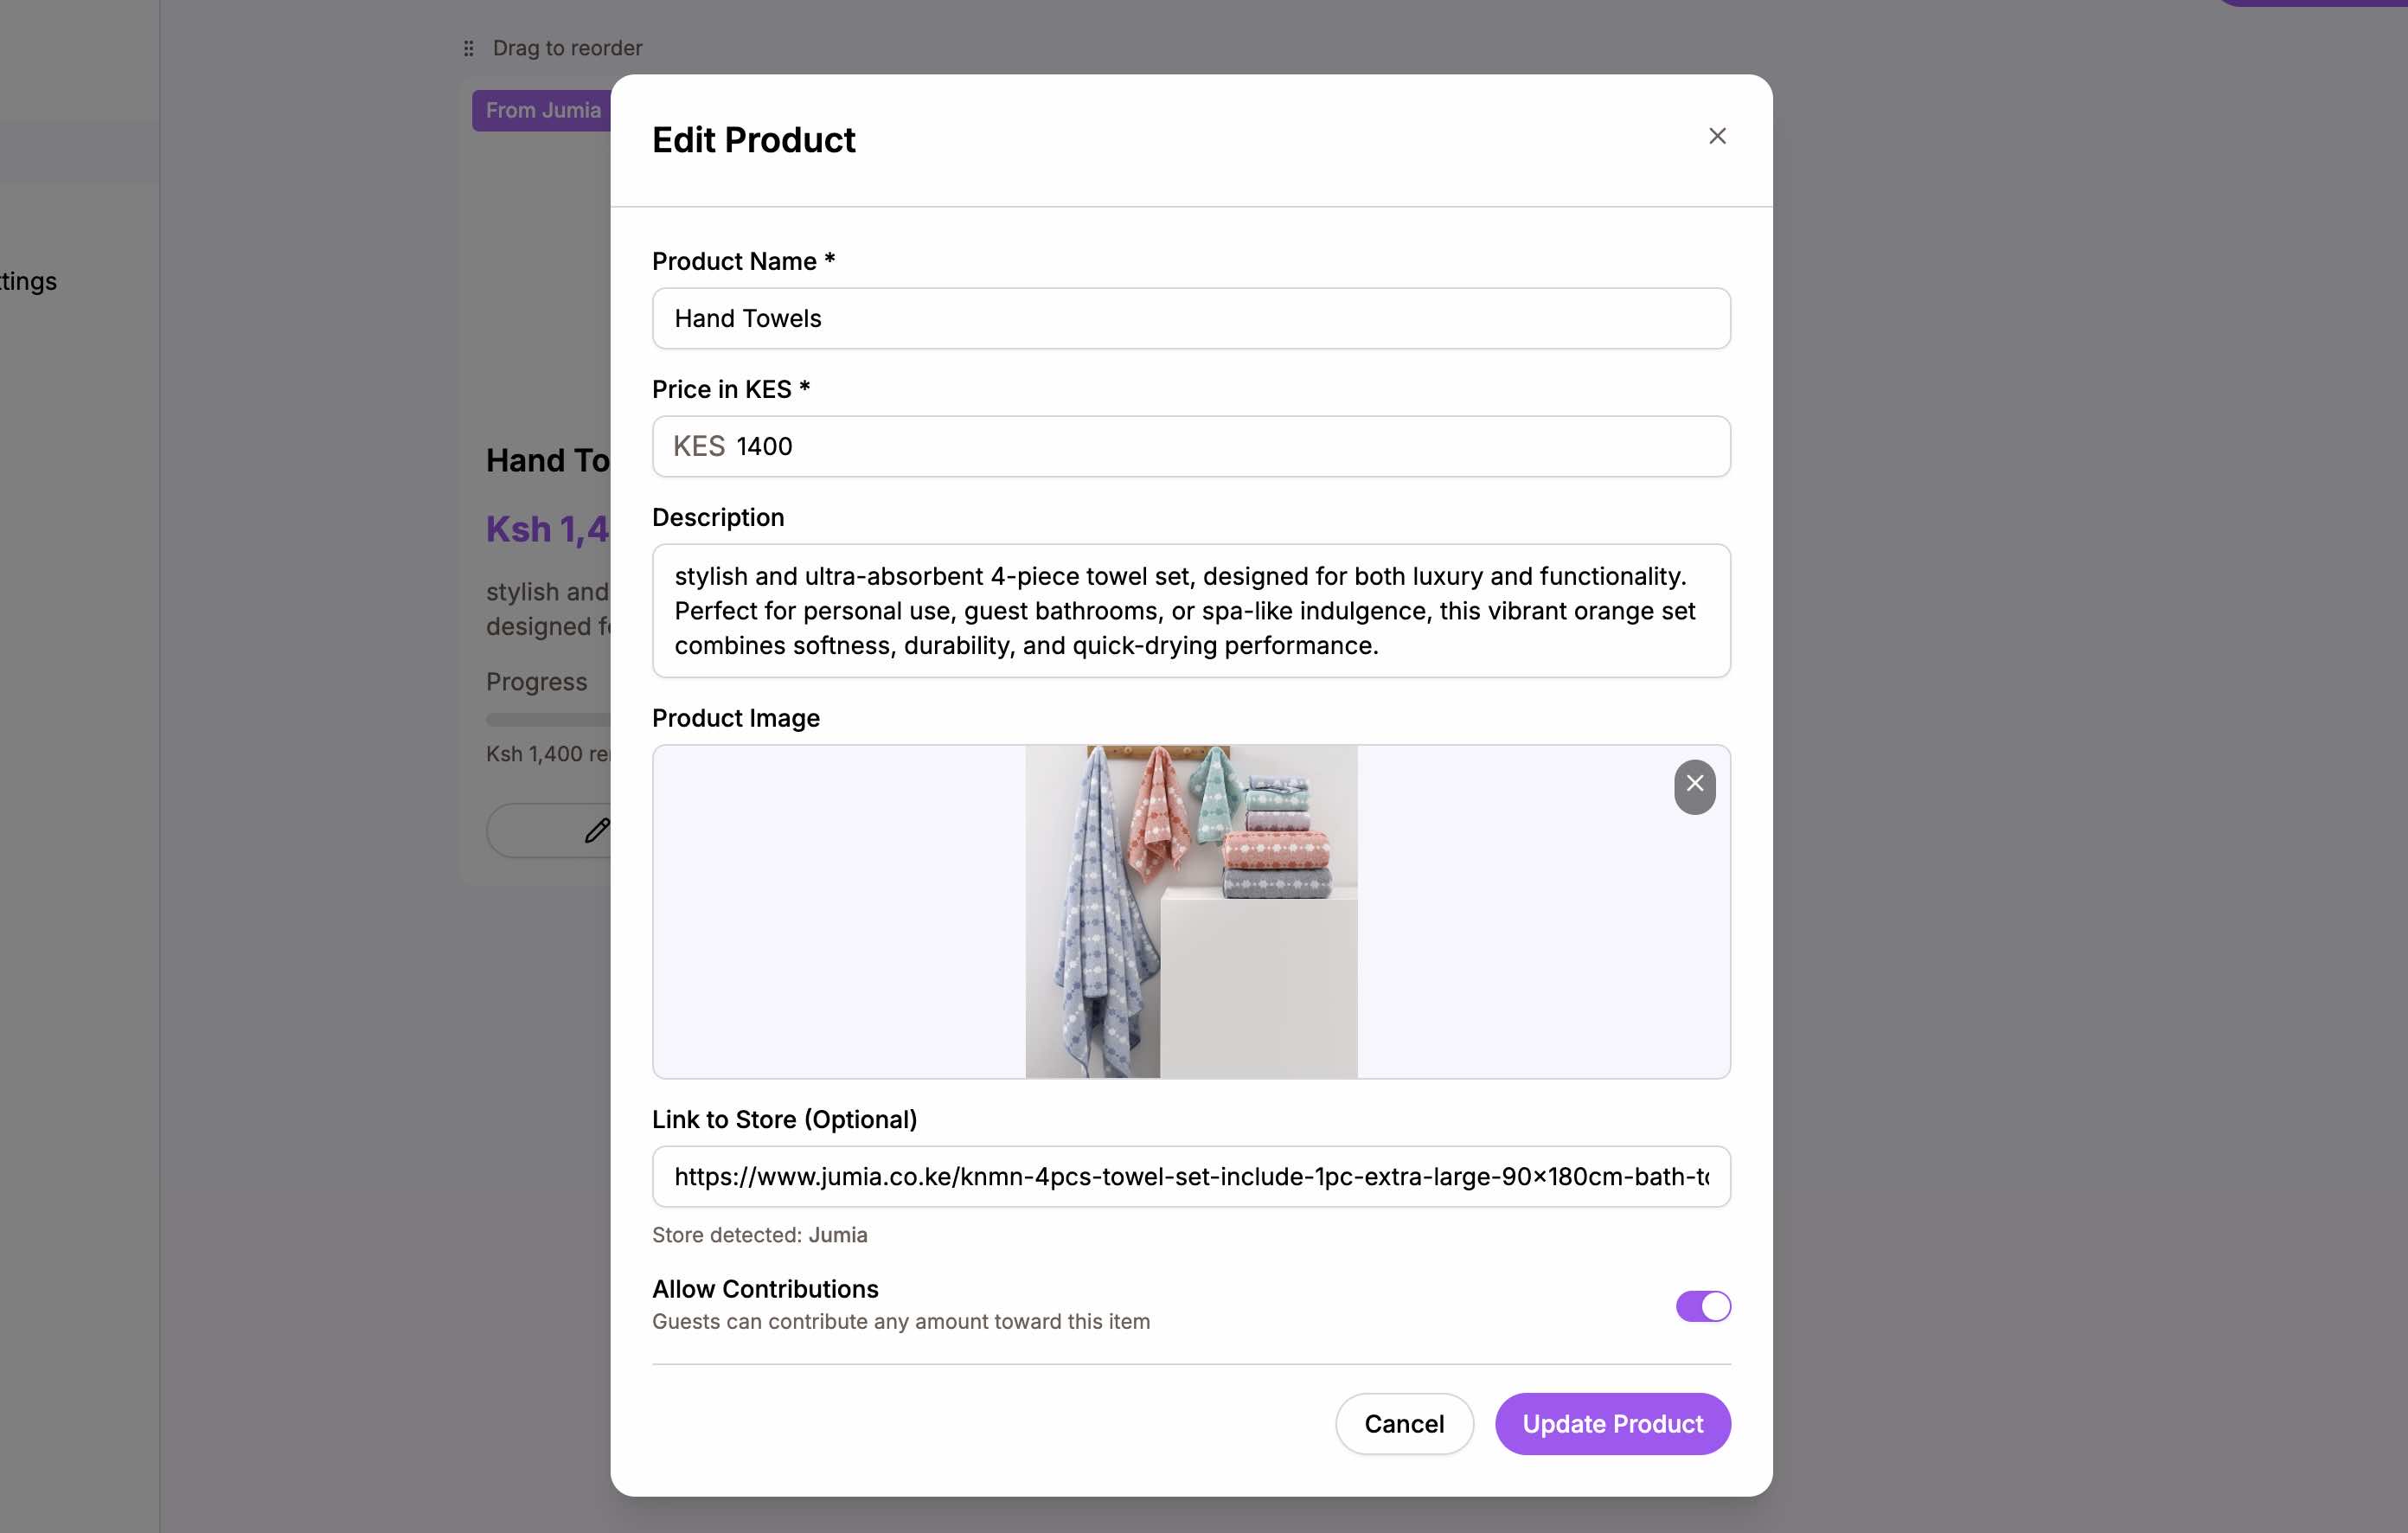
Editing a Block
- Find the block you want to edit
- Click the Edit button
- Make your changes
- Click Save
Deleting a Block
- Find the block
- Click the Delete button
- Confirm the deletion
Duplicating a Block
- Find a block to copy
- Click Duplicate
- Edit the copy with new content
How the Registry Page Appears on Your Website
On the live website, your Registry page shows:
- Section headers and descriptions as formatted text
- Link blocks as prominent clickable buttons
- A clean, organized layout that guides guests
 Your Registry page makes it easy for guests to find and access your registries
When guests click a button, they’re taken directly to that registry in a new browser tab.
Tips for a Great Registry Page
Make It Easy
- Clear labels – Make it obvious what each link leads to
- Working links – Test every link before sharing your website
- Mobile-friendly – Ensure links work on phones
Be Thoughtful
- Multiple price points – Register for items at various prices
- Practical and fun – Mix necessities with nice-to-haves
- Consider group gifts – Expensive items can have multiple contributors
Communicate Preferences
- No pressure – Make clear that gifts are optional
- Express gratitude – Thank guests for considering a gift
- Be honest – If you prefer cash, say so gracefully
Add Context
- Explain each registry – Help guests understand what they’ll find
- Share your vision – “We’re building our first home together…”
- Make it personal – Your registry page can reflect your personality
Page Visibility
By default, the Registry page might not appear in your navigation. If you want guests to see it:
- The Registry page visibility can be controlled through page settings
- Make sure the page is enabled and set to show in navigation
- Check your live website to confirm it appears
Summary
The Registry page editor helps you guide guests to your gift registries:
| Feature | What It Does |
|---|---|
| Page title | Customize what the page is called |
| Link block | Create buttons to external registries |
| Title & Body | Add section headers and introductions |
| Body Only | Add explanatory text |
| Spacer | Separate sections visually |
Make gift-giving easy for your guests with a well-organized Registry page.
Ready to set up your registry?
Create your wedding website and add your registry links.
Add Your Registry