How to Configure RSVP Settings on Your Wedding Website
Learn how to control RSVP options for your wedding website. Turn RSVPs on or off, set deadlines, and enable public RSVP for events so anyone can respond.
How to Configure RSVP Settings on Your Wedding Website
The RSVP settings page lets you control how guests respond to your wedding invitation. You can turn RSVPs on or off, set deadlines, and choose whether to allow public RSVPs for specific events. This tutorial walks you through all the RSVP options so you can collect responses exactly how you want.
What RSVP Settings Control
The RSVP settings determine:
- Whether RSVPs are open – Can guests currently submit RSVPs?
- RSVP deadline – When should guests respond by?
- Public RSVP per event – Can people RSVP even if they’re not in your guest list?
Unlike other website pages, the RSVP page is a settings page – there are no content blocks to add. Instead, you configure options that control the RSVP experience for your guests.
Accessing RSVP Settings
To access RSVP settings:
- Log in to your Harusi Hub account
- From your dashboard, look at the left sidebar
- Click on Website to expand the menu
- Click on RSVP
You’ll see the RSVP settings page with toggles and options.
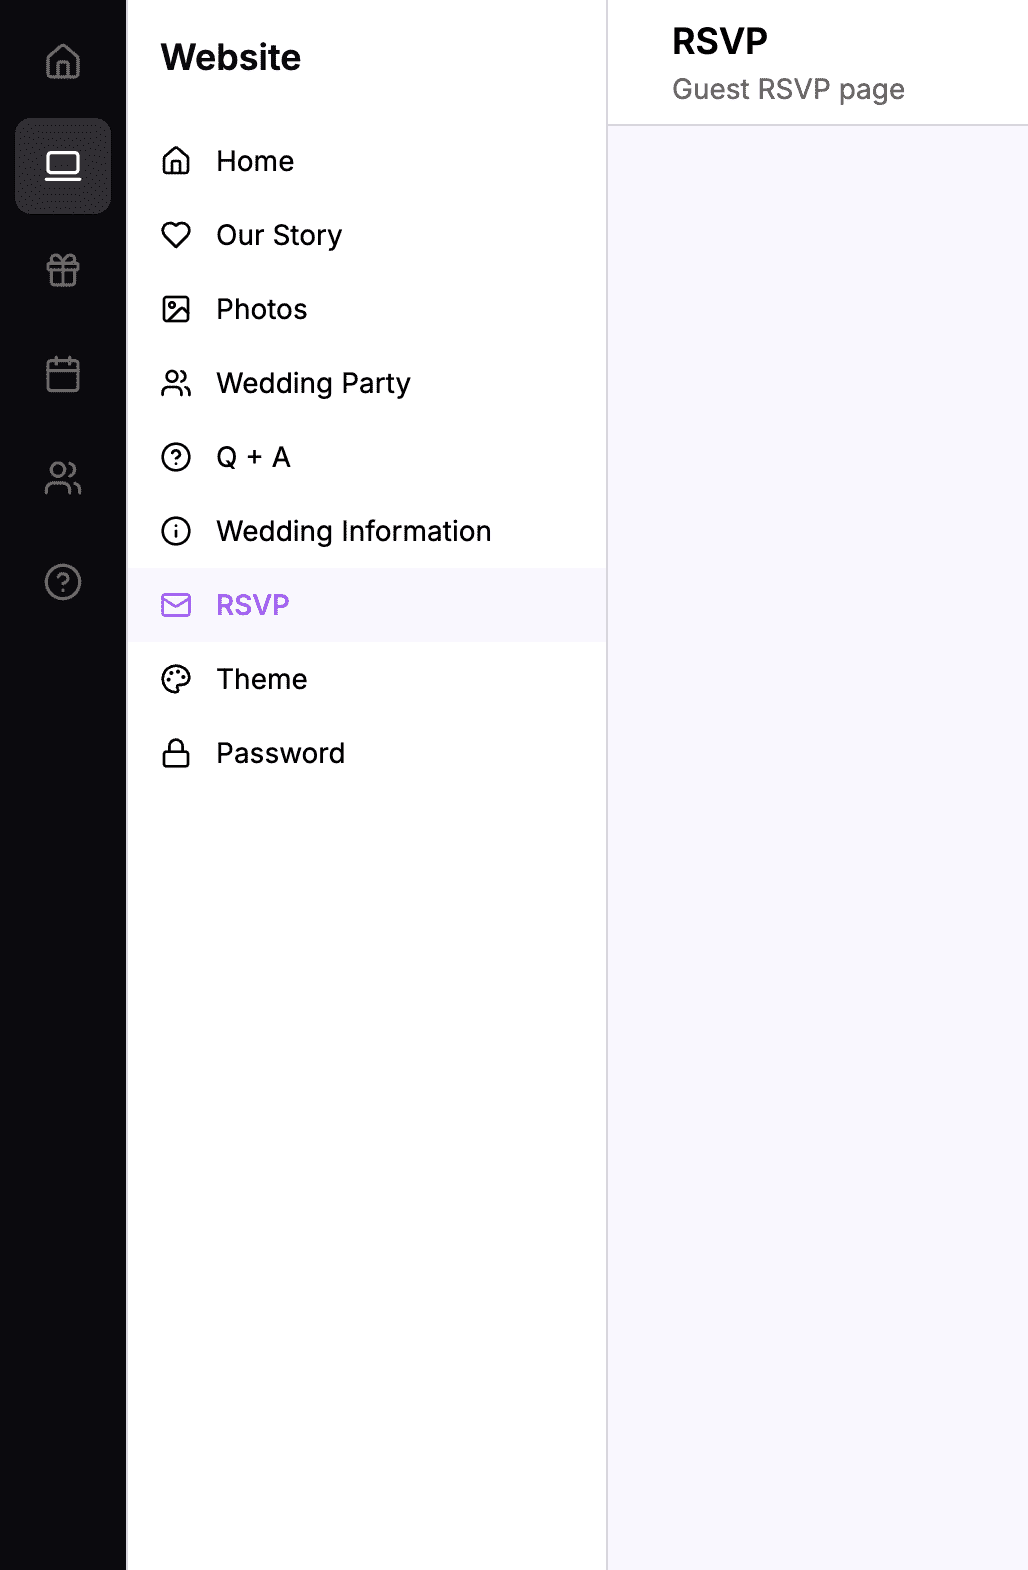 The sidebar navigation with Website > RSVP highlighted
The RSVP Settings Overview
The RSVP settings page shows:
- Accept RSVPs toggle – Turn RSVPs on or off globally
- RSVP Deadline – Optional deadline for responses
- Event list – Your wedding events with per-event RSVP options
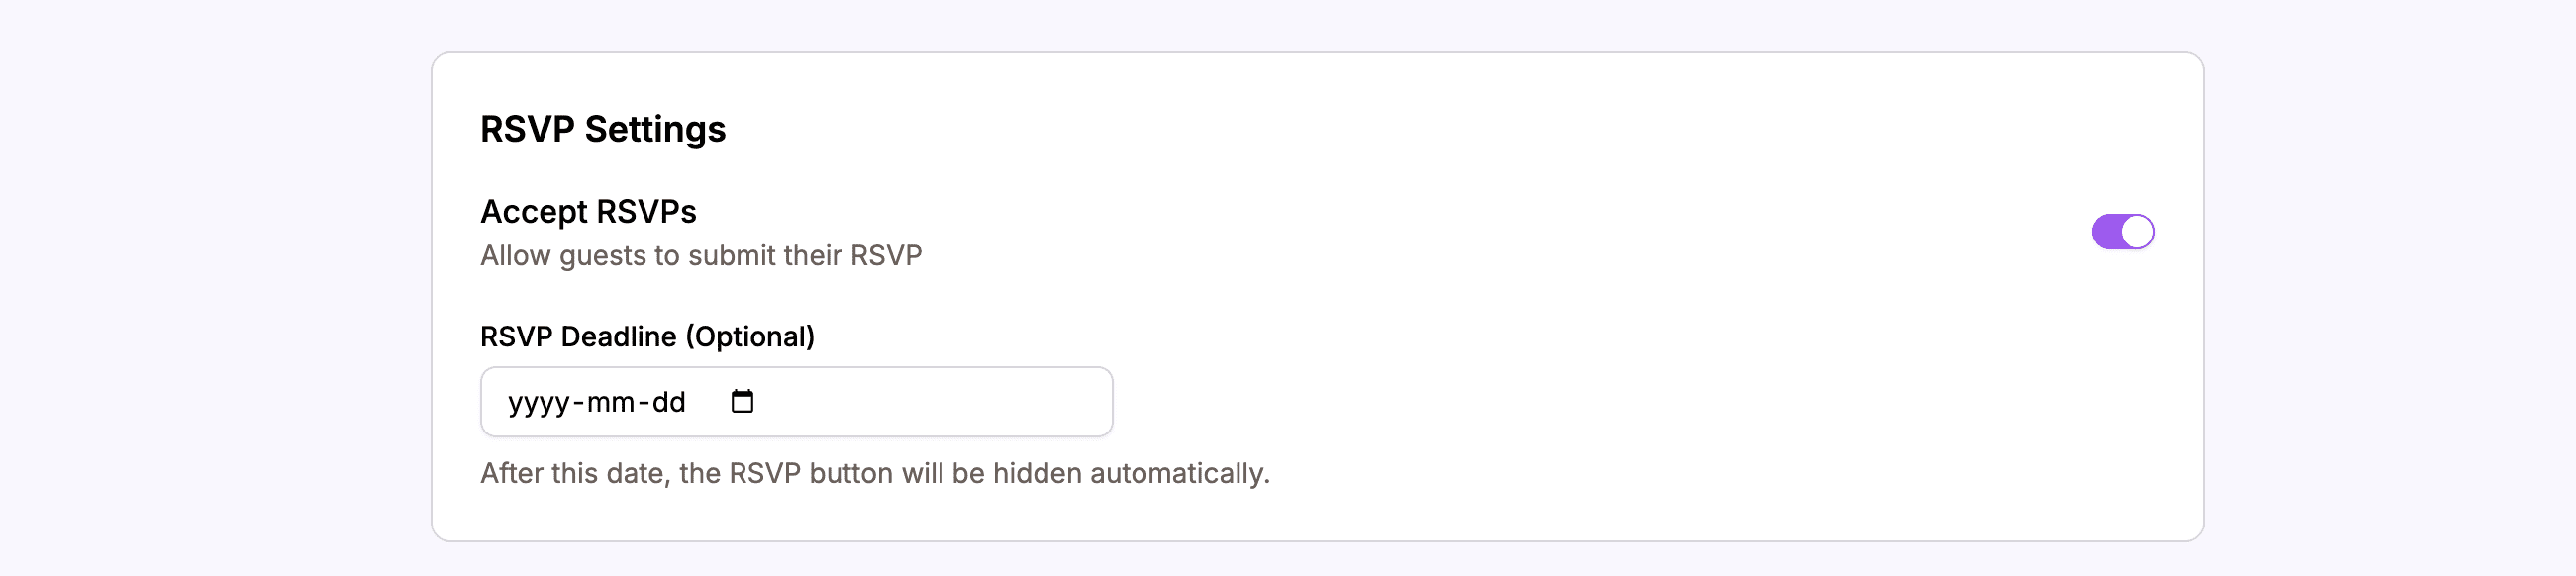 The RSVP settings page with all configuration options
Turning RSVPs On or Off
The main toggle controls whether guests can submit RSVPs at all.
How to Enable or Disable RSVPs
- Find the Accept RSVPs toggle at the top
- Click the toggle to switch it:
- On (enabled) – Guests can submit RSVPs
- Off (disabled) – RSVP form is not available
 Toggle to control whether guests can currently RSVP
When to Turn RSVPs Off
You might disable RSVPs when:
- Before you’re ready – Still finalizing the guest list
- After the deadline – No more RSVPs accepted
- After the wedding – The RSVP page is no longer needed
- Making changes – You want to temporarily pause RSVPs
When RSVPs are off, guests visiting the RSVP page will see a message that RSVPs are currently closed.
When to Turn RSVPs On
Enable RSVPs when:
- You’ve sent invitations – Guests need to respond
- Your guest list is ready – Names are added to the Guests section
- Events are configured – All wedding events are set up
Setting an RSVP Deadline
The RSVP deadline helps guests know when to respond by. It’s optional but recommended.
How to Set a Deadline
- Find the RSVP Deadline field
- Click on the date picker
- Select your deadline date
- The deadline saves automatically
 Select the date by which guests should respond
Choosing a Deadline Date
Consider setting your deadline:
- 2-4 weeks before the wedding – Gives you time to finalize numbers
- Before catering confirmations – When you need final headcounts
- With buffer time – Account for late responders
What Happens at the Deadline
The deadline is informational – it shows on the RSVP page to encourage timely responses. However, it doesn’t automatically close RSVPs. To stop accepting responses after the deadline, you’ll need to manually turn off the Accept RSVPs toggle.
Removing the Deadline
To remove the deadline:
- Clear the date field
- The RSVP page will no longer show a deadline
Understanding Public RSVP
By default, only guests you’ve added to your Guest list can RSVP. They enter their phone number, the system finds them, and they can respond.
Public RSVP changes this. When enabled for an event, anyone can RSVP – even people not on your guest list.
Why Use Public RSVP?
Public RSVP is useful when:
- You have a large, informal event – Like a community celebration
- You’re not managing a strict guest list – Open invitation
- You want easy RSVPs – No need to pre-add everyone
Why Restrict RSVP to Guest List?
Keeping RSVP restricted is useful when:
- You have venue capacity limits – Only invited guests can attend
- You’re tracking specific people – Named invitations
- You want to control attendance – No uninvited guests
Enabling Public RSVP Per Event
Public RSVP is configured per event. This means you can allow public RSVP for some events but not others.
The Event List
The RSVP settings page shows a list of your enabled wedding events. For each event, you can see:
- Event name – The ceremony, reception, etc.
- Event date and time – When it takes place
- RSVP deadline – Event-specific deadline (if set)
- Public RSVP toggle – Enable/disable public RSVP
 Your wedding events with their RSVP settings
How to Enable Public RSVP for an Event
- Find the event in the list
- Locate the Allow Public RSVP toggle
- Click to enable or disable:
- On – Anyone can RSVP to this event
- Off – Only guests in your list can RSVP
 Toggle Public RSVP for individual events
Example Scenario
You might configure:
- Wedding Ceremony – Public RSVP OFF (invite-only)
- Reception – Public RSVP OFF (invite-only)
- After Party – Public RSVP ON (friends of friends welcome)
Event-Specific RSVP Deadlines
Each event can have its own RSVP deadline, separate from the global deadline.
When to Use Event Deadlines
Event-specific deadlines are useful when:
- Events have different catering needs – Different confirmation timelines
- Events are on different days – Multi-day wedding celebrations
- Some events need earlier confirmation – Limited capacity events
Setting Event Deadlines
Event deadlines are typically configured in the Events section of your dashboard, not in RSVP settings. Check your Events settings to add or modify event-specific deadlines.
How RSVP Works for Guests
Understanding the guest experience helps you configure settings correctly.
The RSVP Flow (Standard)
When a guest visits your RSVP page:
- Phone entry – Guest enters their phone number
- Lookup – System searches your guest list
- If found – Guest sees their name and can respond
- Event selection – Guest chooses which events to attend
- Additional questions – Guest answers any RSVP questions (if configured)
- Confirmation – Guest submits their RSVP
The RSVP Flow (Public RSVP)
When Public RSVP is enabled and a guest isn’t found:
- Phone entry – Guest enters their phone number
- Lookup – System searches your guest list
- If not found – Guest is prompted to enter their name
- New guest created – They’re added to your guest list
- Event selection – Guest chooses which events to attend
- Confirmation – Guest submits their RSVP
What Guests See
 The RSVP form your guests will use to respond
The RSVP page shows:
- A welcome message
- Phone number entry field
- Event options (once identified)
- RSVP deadline (if set)
- Submission button
Viewing RSVP Responses
After guests RSVP, you can view their responses in the Guests section of your dashboard. The RSVP settings page is just for configuration – the actual responses are managed elsewhere.
Where to Find Responses
- Go to your dashboard
- Click on Guests in the sidebar
- View all guest RSVPs, filter by status, and manage responses
Tips for RSVP Configuration
Start with RSVPs Off
Before sending invitations:
- Add all guests to your Guest list
- Configure your events
- Set up any RSVP questions
- Then enable RSVPs
Set a Reasonable Deadline
- Give guests enough time to plan
- Give yourself enough time to finalize numbers
- Consider reminder messages before the deadline
Be Thoughtful About Public RSVP
- If your venue has strict capacity, keep Public RSVP off
- If you’re having an open celebration, enable it
- You can always change this setting later
Test the RSVP Flow
Before sharing your website:
- Add yourself as a test guest
- Go to your live RSVP page
- Complete the RSVP process
- Check that your response appears in Guests
Communicate the Deadline
Even with a deadline set on the website:
- Mention it in your invitation
- Send reminder messages
- Follow up with non-responders
Summary
The RSVP settings give you control over guest responses:
| Setting | What It Does |
|---|---|
| Accept RSVPs toggle | Turn RSVPs on or off globally |
| RSVP Deadline | Show guests when to respond by |
| Public RSVP per event | Allow non-listed guests to RSVP |
| Event list | Configure RSVP options per event |
Configure these settings to collect RSVPs exactly how you need them.
Ready to collect RSVPs?
Create your wedding website and let guests respond with ease.
Start Collecting RSVPs